
Creating and configuring an application proxy
Procedure
-
Go to .
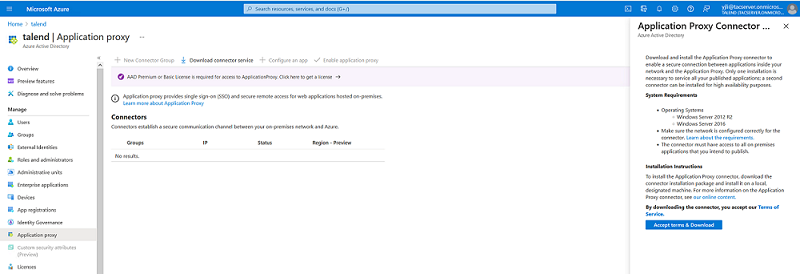 Download AADApplicationProxyConnectorInstaller.exe and install the connector on a Windows Server. Use the information of the user created on Azure (in section Creating and configuring an application proxy) to complete the installation.
 -
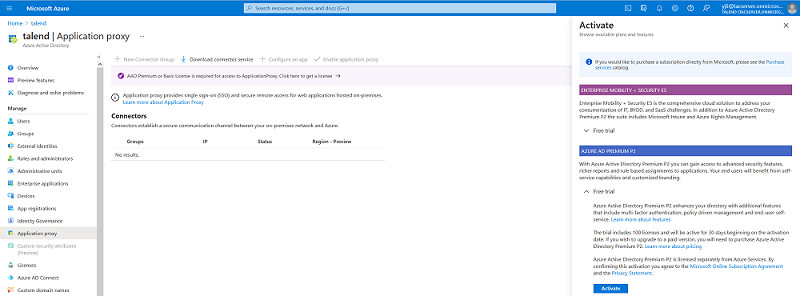
Activate Azure AD Premium P2 license:
-
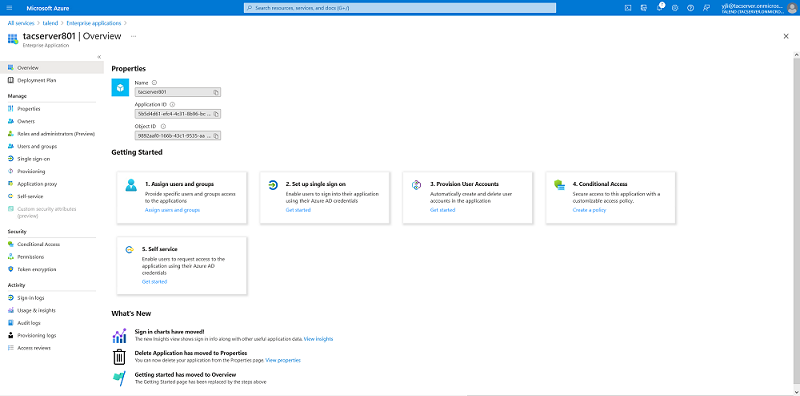
Create an enterprise application:
-
Click Configure an app tab:
-
Create a new application:
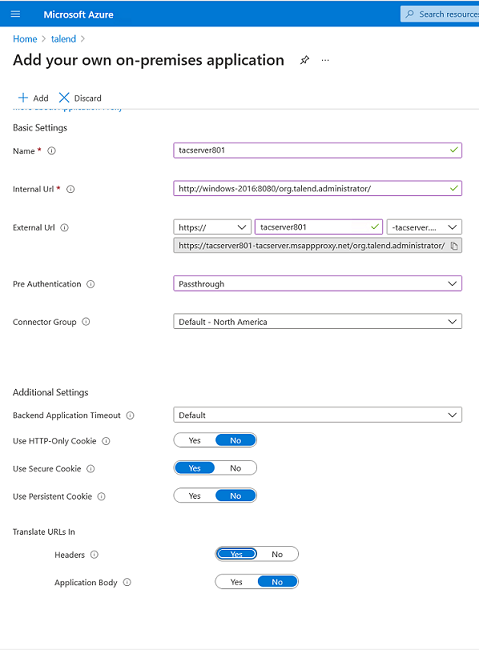
-
From All applications tab, click the newly
created application.
Then click Assign users and groups and assign a user to the application:
-
From Overview, click .
-
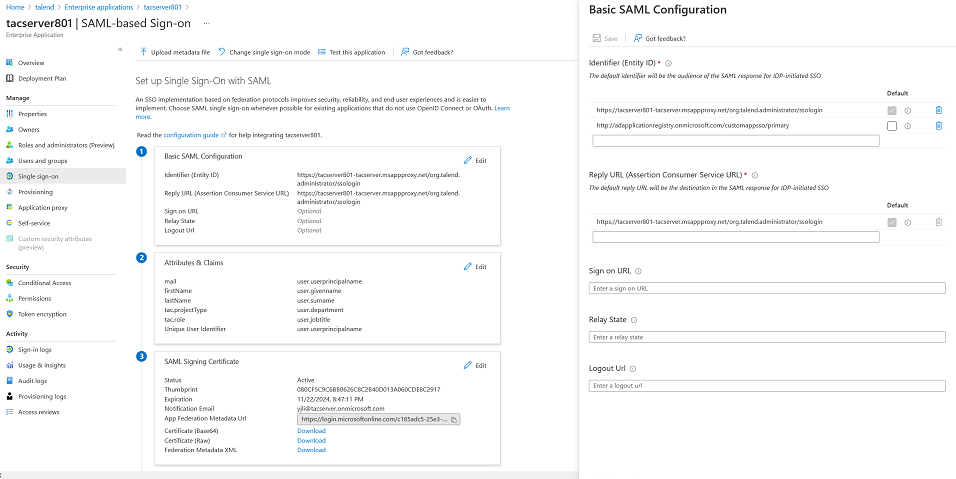
Enter Entity ID and Reply
URL.
Store this data: you will need it at a later step.
-
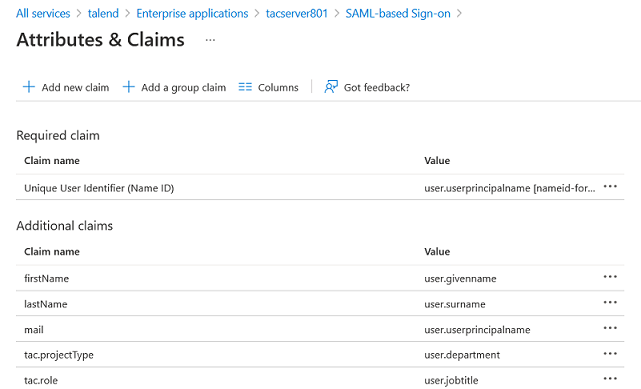
Edit claim values. They correspond to the attributes you want to
display in Talend Administration Center:
-
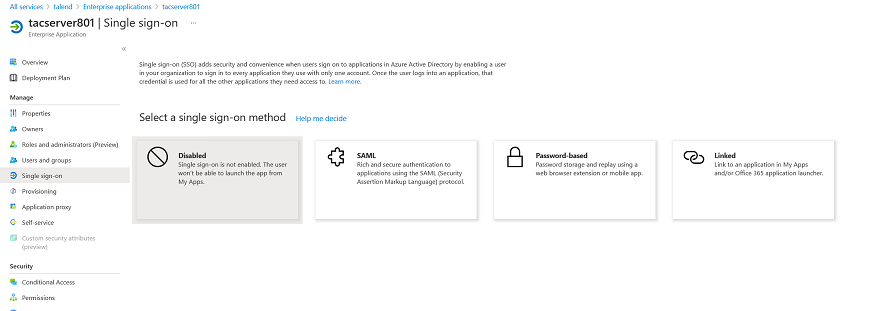
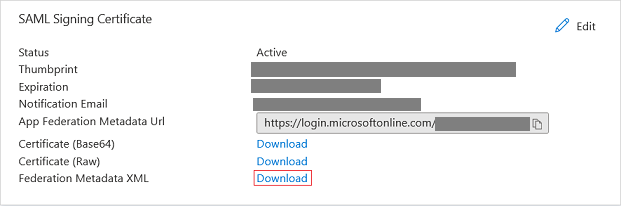
From the Set up Single Sign-On with SAML page,
go to the SAML Signing Certificate section and
download the Federation Metadata XML file.
-
Click Configure an app tab: