
To create a Git branch
Procedure
-
On the toolbar, click the Branch
management button.
The Branch management dialog box opens.
Example
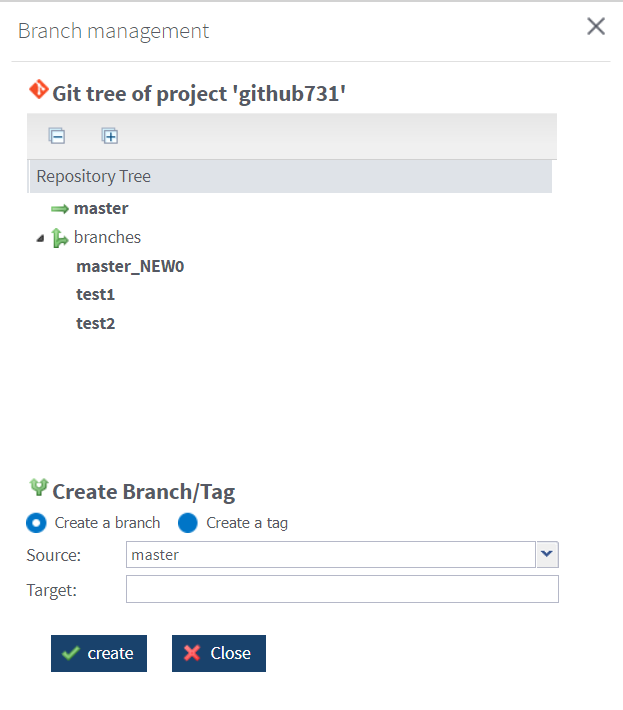 The Git tree of project '<ProjectName>' area shows the structure of the project: all existing branches and their names.Before creating branches for a project stored on Git, the Git tree of project '<ProjectName>' lists only the trunk which is the main development branch. Later, all created branches/tags will be listed in this tree.
Results
The created branch is listed under the branches node in the Git project tree.
Now, the project has two different branches: the trunk/master and a newly created branch.
Once branches are created for a project:
- you can add an execution task to trigger a Job stored in a specific branch of the project. For more information, see Adding an ESB execution task and Adding an execution server;
- users of Talend Studio can switch from the trunk to a branch or copy an item from a branch to another branch or a tag.
Did this page help you?
If you find any issues with this page or its content – a typo, a missing step, or a technical error – let us know how we can improve!