
To create a Git tag
Procedure
-
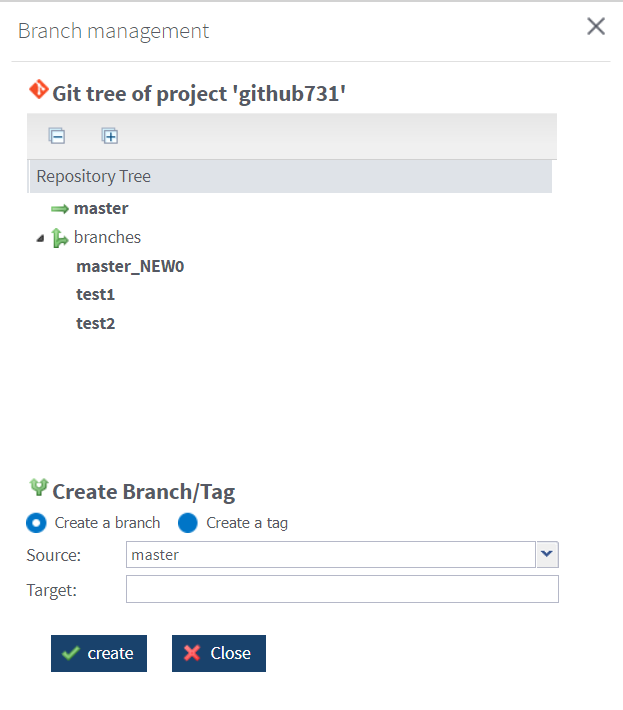
Click create.
Example
Results
The created tag is displayed in the Git tree of project '<ProjectName>'.
Once tags are created for a project, you can add an execution task to trigger a Job stored in a specific tag of the project.
Did this page help you?
If you find any issues with this page or its content – a typo, a missing step, or a technical error – let us know how we can improve!