
Adding a category and assigning elements to it
Talend MDM enables you to organize elements in an entity by adding categories for the entity and then assigning one or more first level elements in the entity to a category.
This feature helps to organize elements on Talend MDM Server and display elements under the same category on a separate tab in Talend Data Authoring for MDM.
For more information about Talend Data Authoring for MDM, see Talend Data Authoring for MDM User Guide.
For more information about Talend MDM Web UI, see Talend MDM Web UI User Guide.
Before you begin
You have already created a data model and the business entities and attributes in the data model. For further information, see Creating a data model and Creating business entities in a data model.
Procedure
-
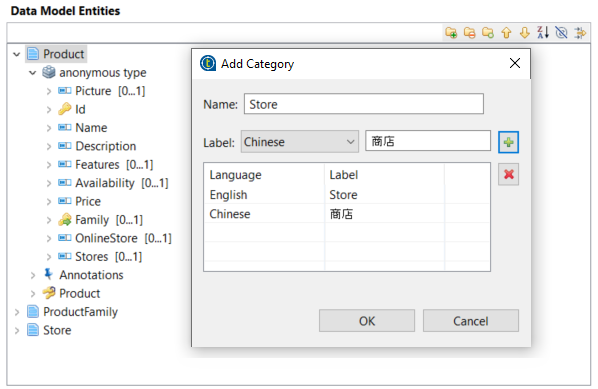
In the data model editor, right-click the entity and select Add
Category from the pop-up menu.
The Add Category dialog box displays.
-
If needed, click the Label drop-down list, select a
language and enter the corresponding label in the field to the right to add
multilingual labels to the new category.
Click the
 button to add the description to the Language/Label list.
 Repeat the operation to add as many labels as needed. You can click the title of each column in the table to sort the labels alphabetically.
Click OK to close the dialog box.
-
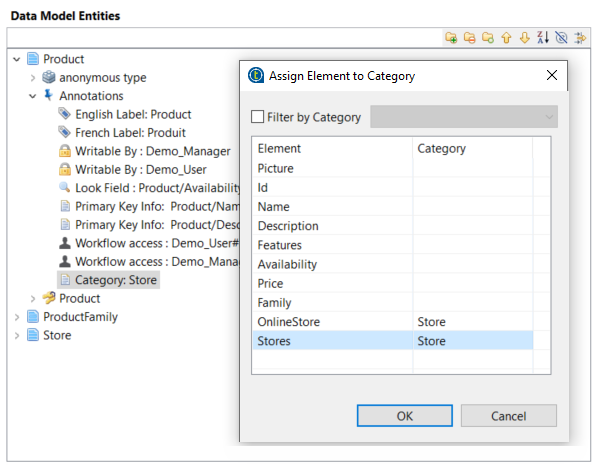
Right-click the entity or the newly created category, from the pop-up menu
displayed, select Assign Element to Category to assign
one or more specific elements to a category.
The Assign Element to Category dialog box displays. The elements are sorted in the same order as defined in the data model editor. You can click the title of each column in the table to sort them alphabetically.
Did this page help you?
If you find any issues with this page or its content – a typo, a missing step, or a technical error – let us know how we can improve!