
Staging framework
Use this framework to create a historical table fed with all data changes in a new row. The journal of transactions is provided with the additional columns: last update date, receiver, sequence IDs and action type.
Procedure
-
Select the tables and click Ok. The list of columns is
displayed.
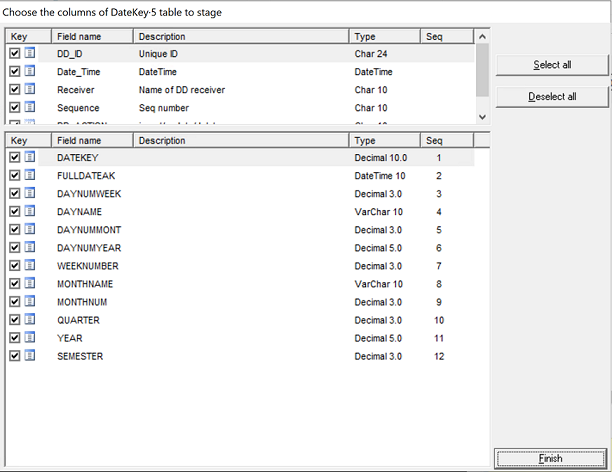
-
Go to the Properties of the table. The window displayed
shows the columns sent to the target.
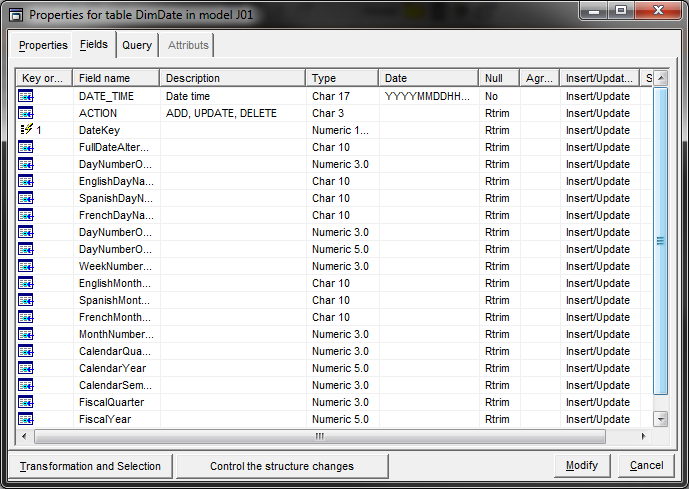 The definition of the key sequence is taken into account to create the target table and, above all, to generate the “where” clause for update and delete statements.DATE_TIME and ACTION fields were added at the beginning of the list.You can change the key field(s) of the target (if any).
There are various options for the key sequence definition. This example describes some of them:
Set a key on DateKey column if you want to get the last transaction for each DateKey in the target table. Only updates will appear in the target table.
If you also set a key on ACTION, you will get all transactions (insert, update, delete) occurred according to the DateKey.-
If no key is assigned to a column: a line is added in the target table for every action. This addition is not related to the value of DateKey.
Did this page help you?
If you find any issues with this page or its content – a typo, a missing step, or a technical error – let us know how we can improve!