
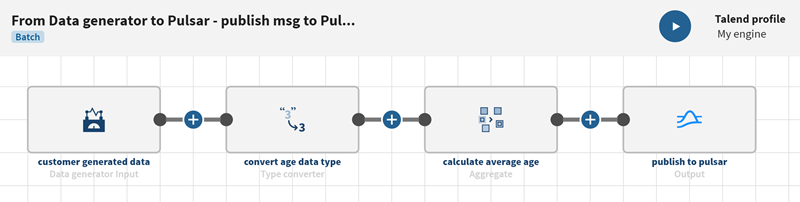
Publishing a message to an Apache Pulsar topic
This scenario aims at helping you set up and use connectors in a pipeline. You are advised to adapt it to your environment and use case.
Procedure
-
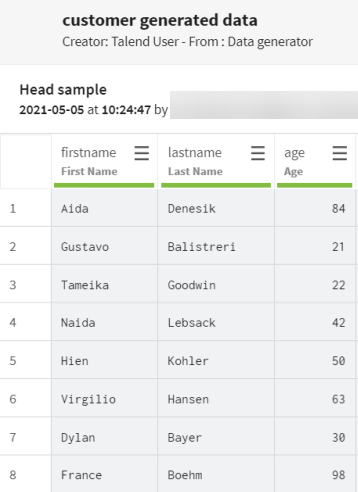
Fill in the properties to generate the test customer data of your choice. In this
example:
- In the Rows field, type in 100 as you want to generate 100 test records.
- Click Add field, type in firstname in the Name field of the element, select First Name in the Type list and type in 0 in the Blank % field as you want to generate random first names with no empty fields.
- Click Add field, type in lastname in the Name field of the element, select Last Name in the Type list and type in 0 in the Blank % field as you want to generate random last names with no empty fields.
- Click Add field, type in age in the Name field of the element, select Age in the Type list, type in 18 in the Min field and 99 in the Max field and type in 0 in the Blank % field, as you want to generate ages between 18 and 99 with no empty fields.
-
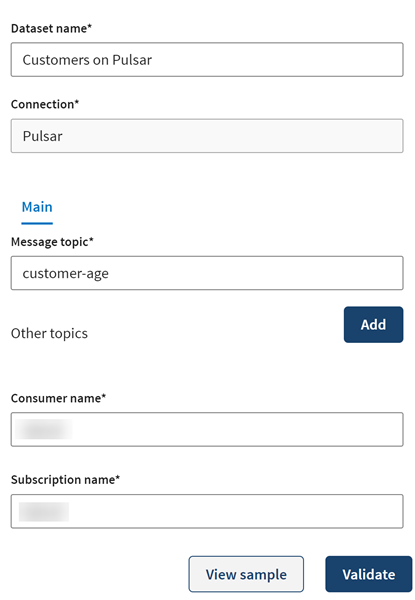
In the Add a new dataset panel, name your dataset. In this
example, the customer-age topic that is currently empty will
be used to publish the data about processed customer information.
-
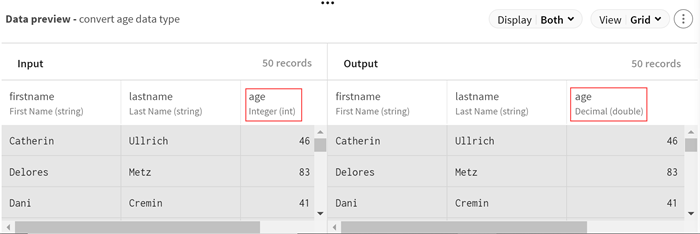
Click
 and add a Type converter processor to the pipeline in
order to change the data type of the age field and be able to
perform calculations on the field values. The configuration panel opens.
and add a Type converter processor to the pipeline in
order to change the data type of the age field and be able to
perform calculations on the field values. The configuration panel opens.
-
(Optional) Look at the preview of the processor to see the data after the type
conversion.
-
Click and add an Aggregate processor to the pipeline in
order to calculate the average age of customers. The configuration panel opens.
-
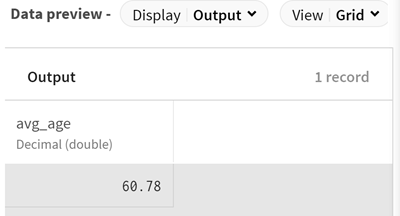
(Optional) Look at the preview of the processor to see the data after the
aggregation operation.
-
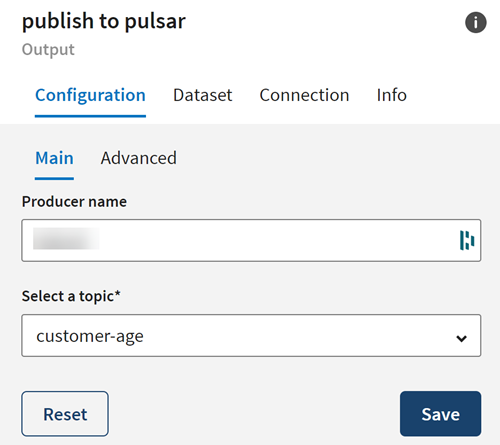
In the Configuration tab of the destination, check the
Producer name and select the topic in which the data will
be loaded.
Results
Your pipeline is being executed, the average age data from your local data has been processed and the output flow is sent to the Apache Pulsar topic you have defined.
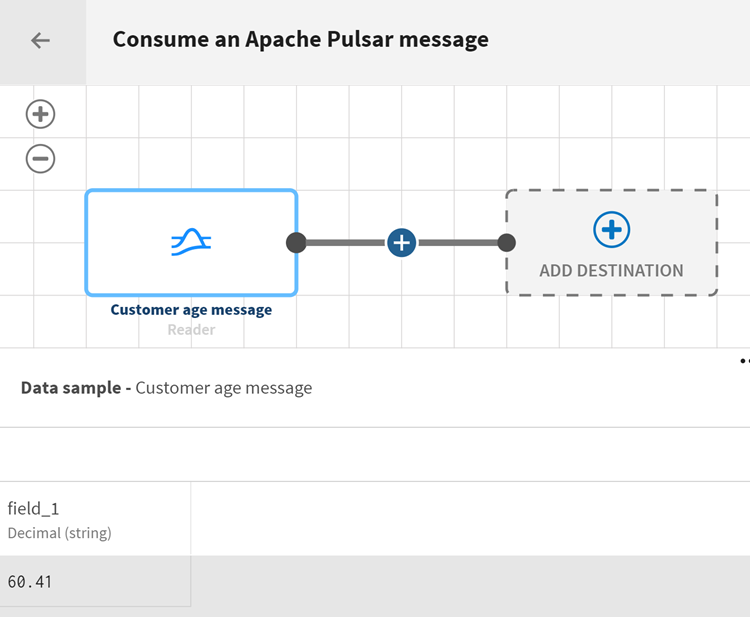
What to do next
Once the event is published, you can consume the Pulsar message in another pipeline and use it as a source dataset:
Did this page help you?
If you find any issues with this page or its content – a typo, a missing step, or a technical error – let us know how we can improve!