Skip to main content Skip to complementary content

Defining due dates for multiple tasks

Procedure

  1. Log in as a campaign owner and click the campaign which holds the tasks you want to update.
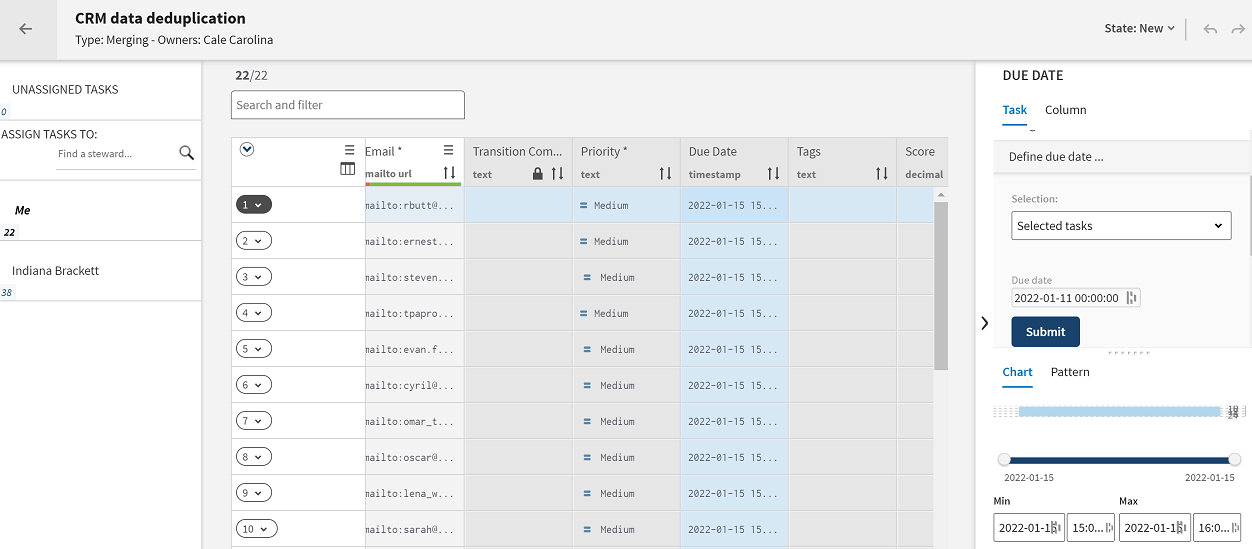
  2. In the right panel, click Task and expand Define due date.
  3. From the Selection list, select to add the due date timestamps to all the tasks or only to the tasks you select in the task list.
    Information noteTip: From the task list, hold the Ctrl or Shift keys to select multiple tasks. On Mac, hold the Cmd or Shift keys.
  4. In the Due date field, enter the date and time using the format: YYYY-MM-DD HH:mm:ss.
    The date should follow the exact timestamps format.
  5. Click Submit to update the tasks in the open list with the new due date.

Did this page help you?

If you find any issues with this page or its content – a typo, a missing step, or a technical error – let us know how we can improve!