Skip to main content Skip to complementary content
Close announcements banner

Configuring the Job for aggregating and filtering data in multiple SAP tables

Procedure

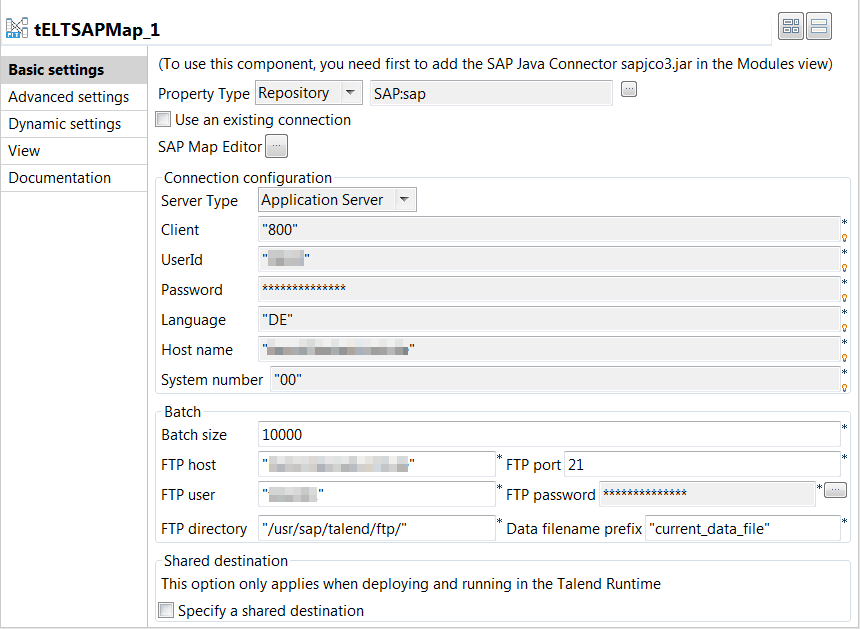
  1. Click the tELTSAPMap component and then the Component tab to open its Basic settings view.
  2. Select Repository from the Property Type drop-down list and click the [...] button near to Property Type and in the pop-up dialog box select the SAP connection node that has been created in the Repository tree view. When done, click OK and all SAP connection configuration fields will be automatically filled.
  3. In the FTP host, FTP port, FTP user, FTP password and FTP directory fields, enter the FTP connection information. The tELTSAPMap component will read all data files generated by the SAP system via this FTP connection.
  4. In the Data filename prefix field, specify the prefix of the files generated by the SAP system.
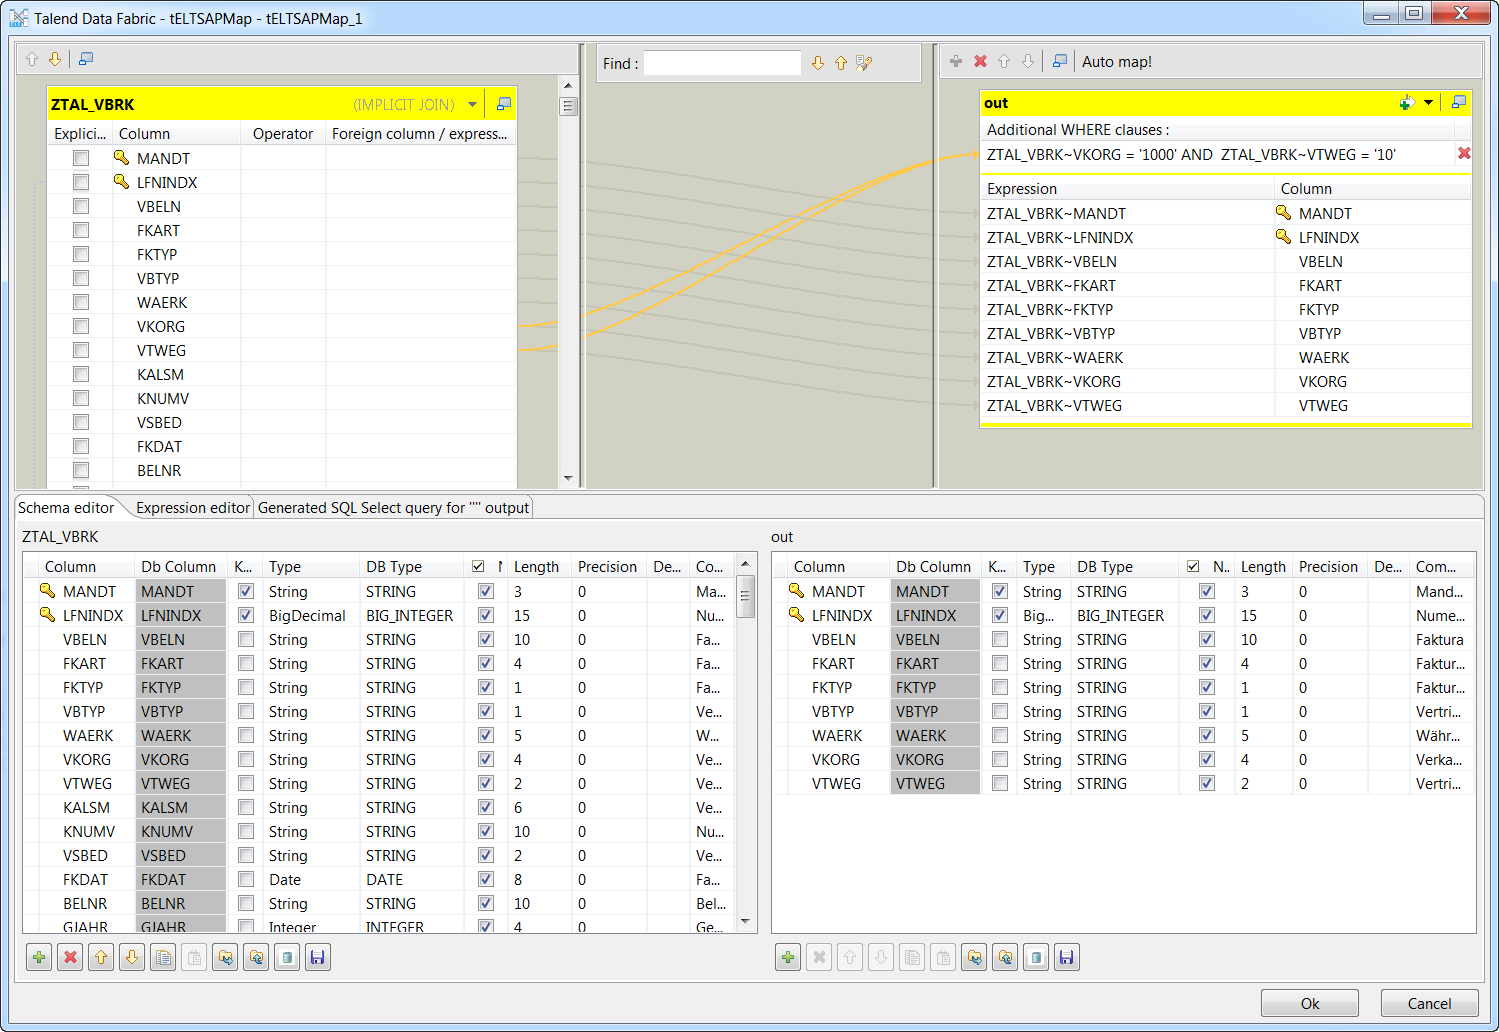
  5. Click the [...] button next to SAP Map Editor to open its map editor.
  6. On the top left panel, drag and drop the node LFNINDX in the ZTAL_VBRK table onto the node LFNINDX in the ZTAL_VBRP table to create an inner join between the two tables.
  7. Drag and drop the nodes MANDT, LFNINDX, VBELN, FKART, FKTYP, VBTYP, WAERK, VKORG, VTWEG in the ZTAL_VBRK table on the top left panel onto the out table on the top right panel, and only the data of those columns will be retrieved and written into the output CSV file.
  8. Click the Add clause row button on the top right corner of the out table and then click Add a WHERE clause. In the Additional WHERE clauses field displayed, enter the clause used to filter the rows of data to be retrieved. In this example, it is ZTAL_VBRK~VKORG = '1000' AND ZTAL_VBRK~VTWEG = '10', which will filter only the rows of data with the value of VKORG set to 1000 and the value of VTWEG set to 10.
  9. Click Generated SQL Select query for "" output at the bottom and you will see the generated SQL SELECT query used to aggregate and filter the data from the two tables.

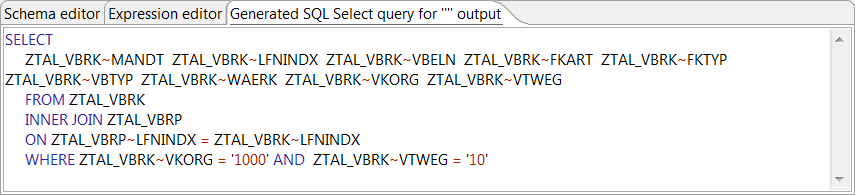
    When done, click OK to close the map editor.

  10. Double-click the tFileOutputDelimited component to open its Basic settings view. In the File Name field, specify the path to the file into which the aggregated and filtered data will be written, D:/out.csv in this example. Then click the Sync columns button to retrieve the schema from its previous component.

Did this page help you?

If you find any issues with this page or its content – a typo, a missing step, or a technical error – let us know how we can improve!