
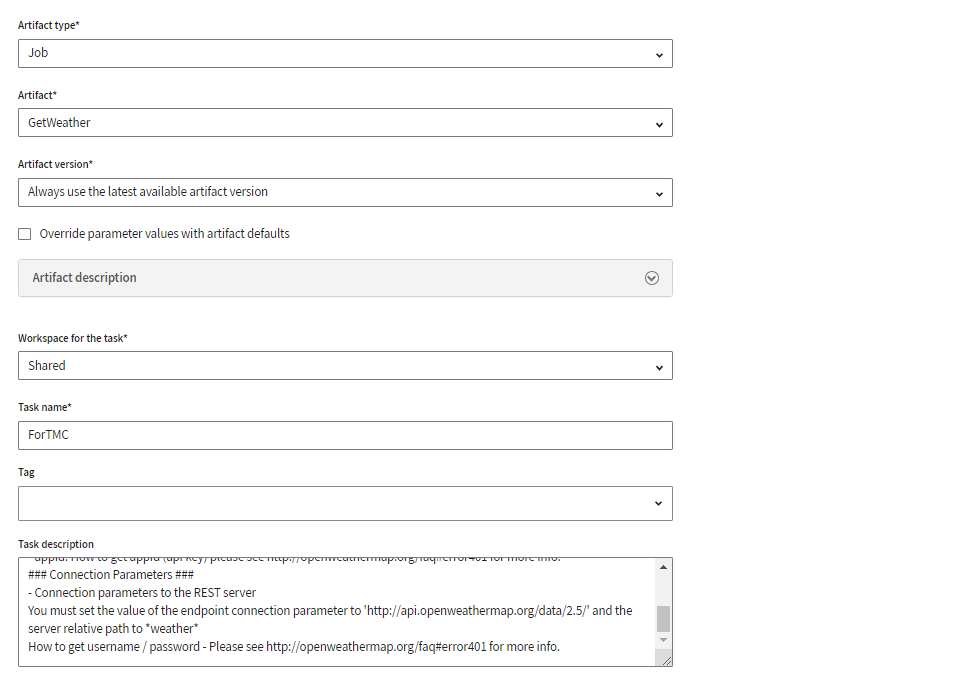
Creating Job tasks
Job tasks are executable integration processes that contain a Job artifact published from Talend Studio.
If contexts have been defined for this Job artifact in Talend Studio, the default context is automatically published with this Job artifact. For recommended rules about defining these contexts in Talend Studio, see Using contexts and variables.
The values in this context configuration are cleared in the exported files for security reasons. You need to enter the context values again in Talend Management Console.
Before you begin
- You must have the Author permission on the workspace where
the task is located to create or edit a Job task and manage its configuration.
The Author permission allows you to configure the Artifact and Parameters steps when creating or editing a task.
- You must have the Execute permission on the workspace where
the task is located to manage the run configuration and schedule, such as setting
engine, log level or execution timeout.
The Execute permission allows you to configure the Processing and Schedule steps when creating or editing a task.
Procedure
- Optional:
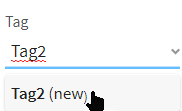
Add a tag to the
task.
-
Create a new tag by typing in the name and clicking on
it in the drop-down list.
-
Create a new tag by typing in the name and clicking on
it in the drop-down list.
-
Click Continue.
Results
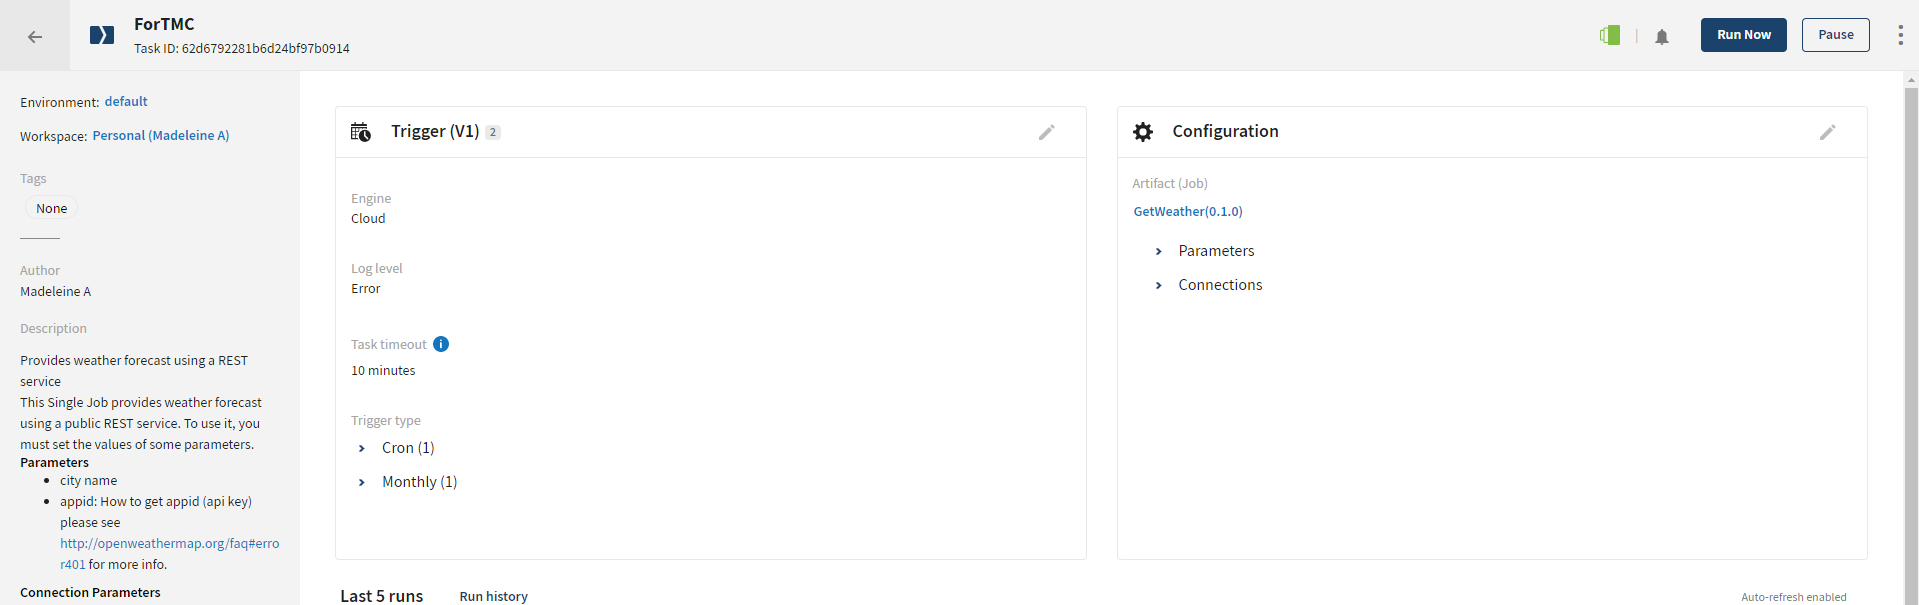
Your task is ready to run on Talend Management Console.
Exponential back-off retry pattern has been adopted to provide not only faster first and second retries (1 minute and 3 minutes respectively after the initially failed attempt), but also better global behaviour on peak workload situation.
For example, when you try to execute a task that is already running, the execution fails. Talend Management Console retries the execution with incrementally increased intervals, that is to say, the first retry takes place at the end of 1 minute only, the second one 2 minutes, then subsequently 4 minutes and 8 minutes.If the fourth retry fails, you will get the error message Exceeded the limit of deployment attempts: another instance of the same task was running on the engine at same time. Try to run the task later.
Example
Did this page help you?
If you find any issues with this page or its content – a typo, a missing step, or a technical error – let us know how we can improve!