
Setting indicators on columns
After defining the columns to be analyzed, set either system or user-defined indicators for each of the defined columns.
Setting system and user-defined indicators
The second step after defining the columns to be analyzed is to set statistics indicators for each of the defined columns.
Information noteNote: You can also use Java user-defined indicators when analyzing columns in a delimited file
on the condition that a Java user-defined indicator is already created.
For more information, see Creating Java user-defined indicators.
Before you begin
Procedure
-
From the Indicator Selection dialog box:
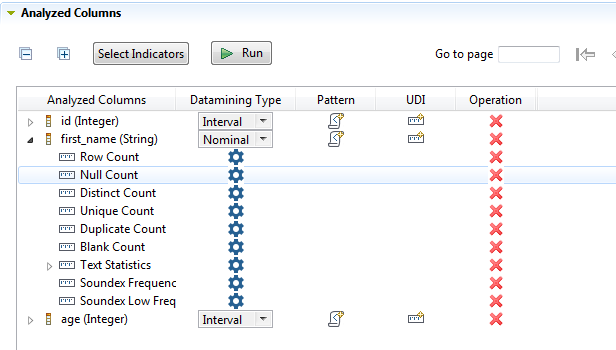
In this example, you want to set the Simple Statistics indicators on all columns, the Text Statistics indicators on the first_name column and the Soundex Frequency on the first_name column as well.Information noteNote: You can set the text statistics indicators on a column only if its data mining type is set to nominal. Otherwise, these indicators will be grayed out in the Indicator Selection dialog box.The selected indicators are attached to the analyzed columns in the Analyzed Columns section.
Setting options for system indicators
Before you begin
Procedure
-
In the Analyzed Columns view in the
analysis editor, click
 next to the indicator.