
Crawling for multiple datasets
If you need to import numerous datasets from the same source, instead of manually creating them one by one in Talend Cloud Data Inventory, you can create a crawler to retrieve a full list of assets in a single operation.
Crawling a connection allows you to retrieve data at a large scale and enrich your inventory more efficiently. After selecting a connection, you will be able to import all of its content, or part of it via a quick search and filter, and select which users will have access to the newly created datasets.
- The dynamic selection to retrieve all tables that match a specific filter, regardless of the content of your data source at a given time.
- The manual selection to manually select the tables to retrieve from the current state of your data source.
Crawling a connection for multiple datasets comes with the following prerequisites and limitations:
- The Dataset administrator or Dataset manager role has been assigned to you in Talend Management Console, or at least the Crawling - Add permission.
- You are using the Remote Engine 2022-02 or later.
- You can only crawl data from a JDBC connection, and only one crawler can be created from a connection at the same time.
Procedure
-
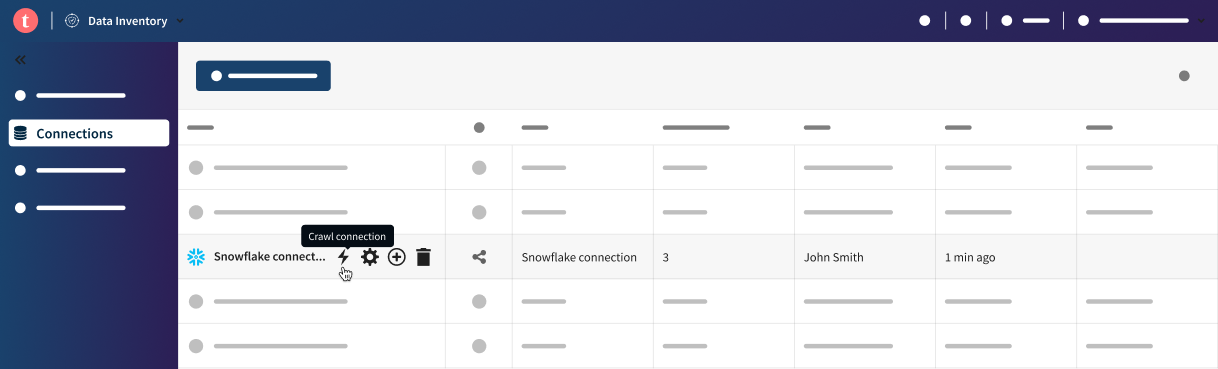
To start creating a crawler for a connection, you can either:
- Hover over your connection in the connection list, click the
Crawl connection icon, and then the
Add crawler button.
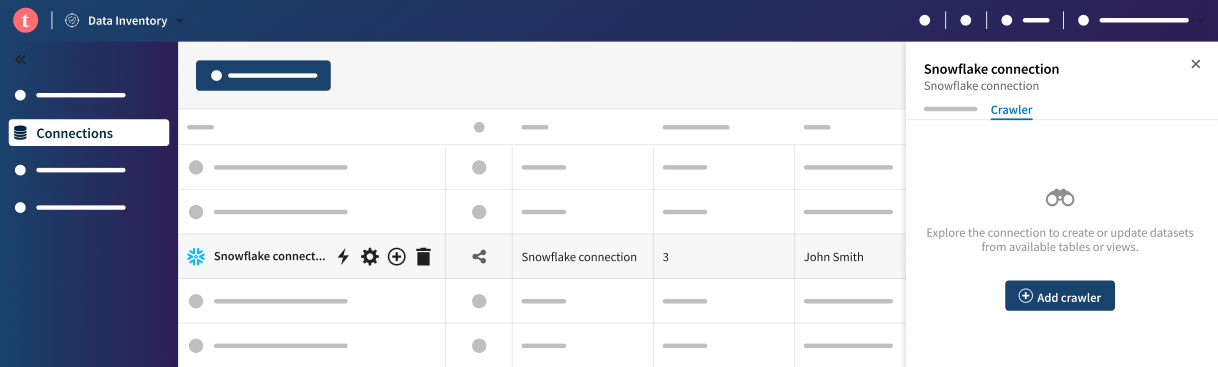
- Click your connection in the connection list, select the
Crawler tab of the drawer panel, and click
Add crawler.
The crawler configuration window opens. - Hover over your connection in the connection list, click the
Crawl connection icon, and then the
Add crawler button.
-
Click Run.
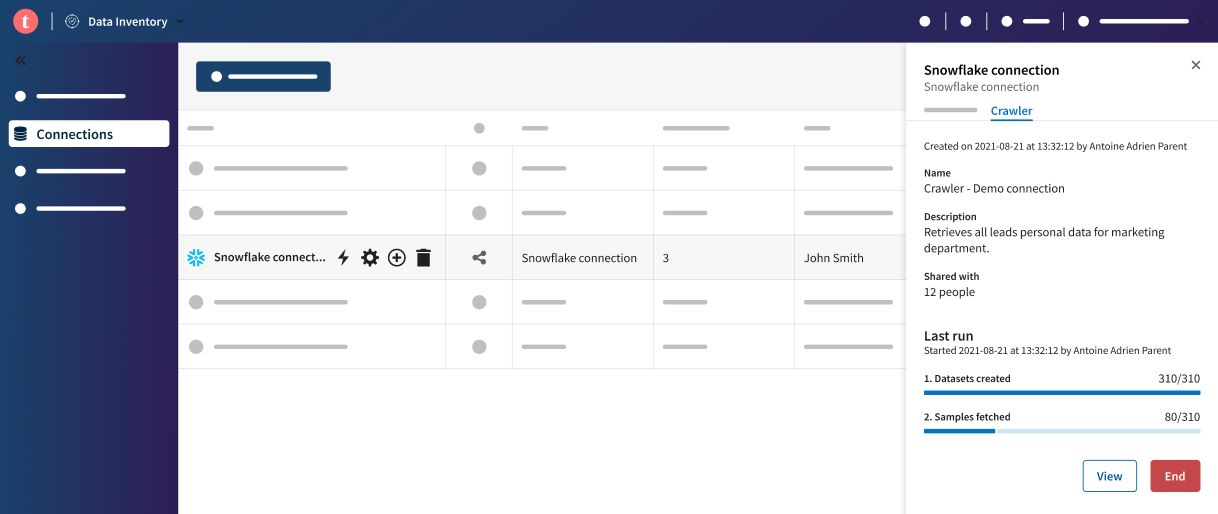
An asynchronous process is launched in the background to crawl the selected datasets from the connection. You are now back to the connections list, with the Crawler tab of the right drawer panel opened, where you can monitor the progress of the datasets creation, as well as the sample availability.
 Information noteNote: When the samples have all been fetched, the data quality and Talend Trust Score™ of every crawled dataset have been fully computed and are visible in the dataset list and each dataset overview. If you want to start working on one of the crawled datasets before its sample is available, you can manually retrieve one by clicking Refresh sample in the dataset sample view.
Results
You cannot edit a crawler configuration after it has started running. If the crawler is stopped or finished, you can edit the table selection, name, and description of the crawler. However, you cannot edit the sharing settings. To crawl the connection again with different sharing settings, delete the crawler and create a new one.
It is possible to use a crawler name as facet in the dataset search to see all the datasets linked to a given crawler.
Did this page help you?
If you find any issues with this page or its content – a typo, a missing step, or a technical error – let us know how we can improve!