
Installing the AlwaysOn availability groups feature
This section describes the installation of Talend Change Data Capture when the
source databases are organized in availability groups (or clusters) that include databases
and their replicas on primary and secondary nodes.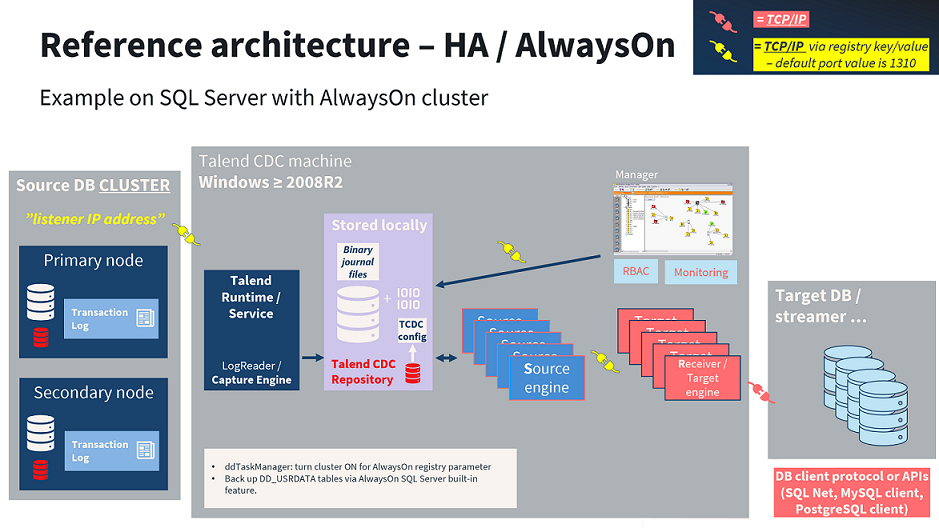
Before you begin
About this task
Procedure
-
From your database management tool, add DD_USRDATA to the
Availability databases group of the
AlwaysOn High availability group.
Example on MS SQL Server:
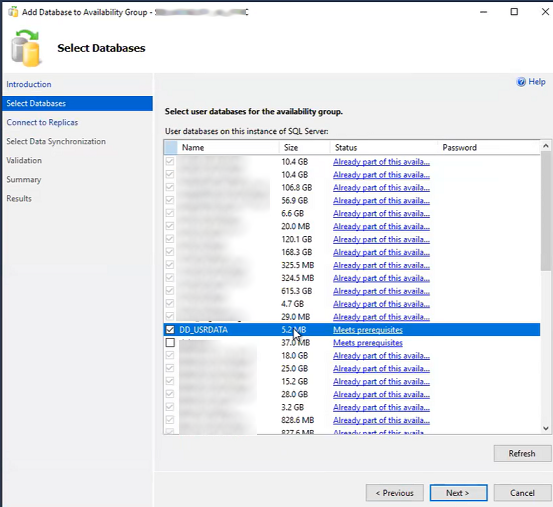 Make sure that DD_USRDATA is replicated on primary and secondary nodes of the group.
 -
Activate the AlwaysOn feature:
- Go to Windows Services and stop the SQLServer service.
- Now go to Registry tab and select the server instance name under DD_for_SQLServer directory. Details are displayed on the right part of the screen.
- To activate the AlwaysOn service, double-click the
AlwaysOn label and change the value to
1.
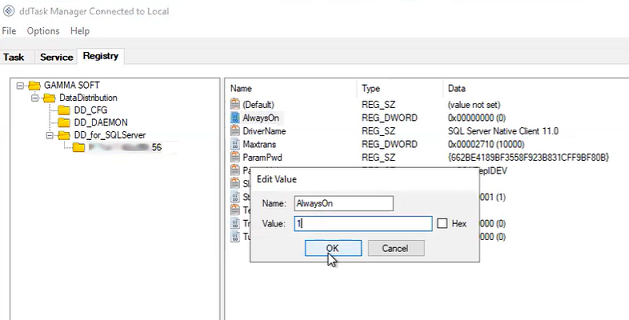
- Restart the MS SQL Server service.
Go to Options and check the service is running correctly in ddmsgq.ddm tab (if the message: No valid license key found is displayed, see section Under 7.16.1 version: fields completion).
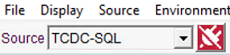
- Start the Manager. Click . In the IP field, enter the listener address of the availability group.Information noteWarning: Do not enter a private IP address assigned to a node of the group.In the Instance or Server name field, enter the listener DNS name (the same as entered when installing the source engine at step 1).
-
When using the Manager, if you need to switch nodes within the same
availability group, click the connection button: the current node is
disconnected.
Click on the button again: the connection is automatically made to the available node.
Did this page help you?
If you find any issues with this page or its content – a typo, a missing step, or a technical error – let us know how we can improve!