
Add, Review and Edit Objects with or without Workflow
When you enable workflow Talend Data Catalog creates another version of the glossary named Published. The Published version is the one that is to be presented to most of the users. Its contents are not directly editable (with or without permission). Instead, one edits the Development version and then uses the Publish workflow step to change what is in the Published glossary.
The particular version (Published or Development) that user sees is entire system managed. Thus, you will have access to the
- Published version of the glossary if you do not have any Workflowcapability object role assignments, and you will not have any ability to edit the glossary or see current edits and workflow states. You will only see what was published.
- Development version of the glossary if you do not have any Workflowcapability object role assignments, and you will have the ability to see glossary object in their current workflow status
Terms and other object types associated with custom models can have any number of attribute (types) associated with them. However, these function differently from custom attributes on imported models. Unlike custom attributes, attributes on custom model objects are always considered available to edit. Thus, you do not have to “attach” them to each instantiated object.
For terms, what this means is that the ALL of the attributes available will show in the object page for every term, not just the ones you attached a custom attribute to.
Without Workflow
Without workflow, glossary object or any type of custom model object may be edited simply with the Metadata Editingcapability object role assignment on the glossary for which you wish edit objects.
Add a new object
Adding an object without workflow mere requires the Metadata Editingcapability object role assignment on the glossary.
Adding an object is just of an example of the process of populating a custom model. In the case of the Term object type, an existing term may contain any number of child terms.
Steps
- Sign in as a user with at least the Metadata Editingcapability object role assignmenton the glossary you wish to view or edit objects from.
- Navigate to the object page of the root of the glossary or an existing object you wish to place the new object in.
This interface is simply the standard object page and all the same features are available.
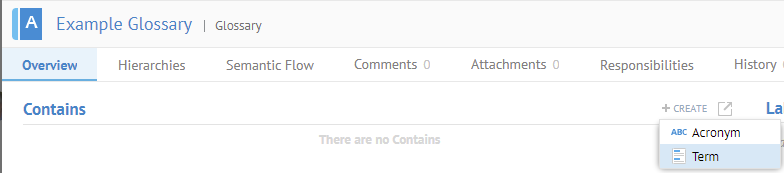
- Click the Terms or Acronyms tab and click the Create plus sign, or simply click the Create plus sign next to the Terms or Acronyms section header in the Overview tab.
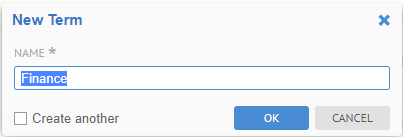
- Enter the Name.
You may click on Add another to cause the Add dialog to stay open for adding additional objects each time you click OK.
- Click OK.
Example
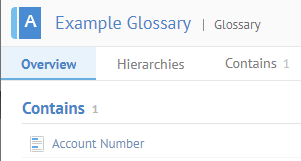
Sign in as Administrator and Navigate to the Example Glossaryobject page.
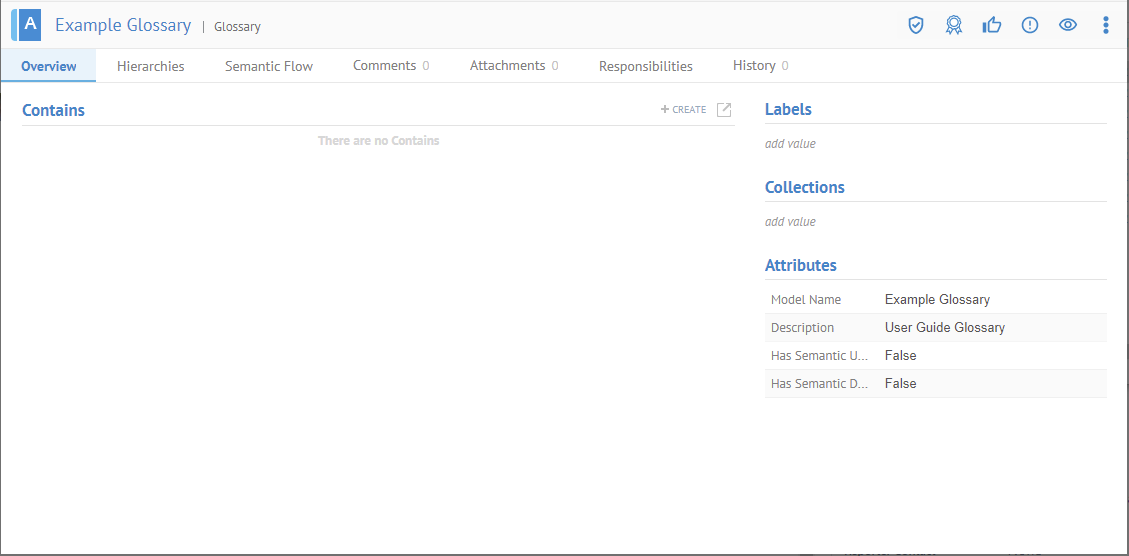
Then click the Create plus sign in the Contains section, specify a Term and enter “Account Number” as the Name.
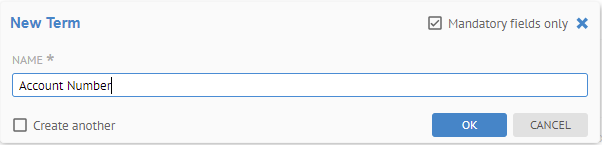
Mandatory attributes like NAME are required to be entered as soon as an instance of the object is created. This fact is noted by the “*” next to the name.
Uncheck the Mandatory fields only checkbox.
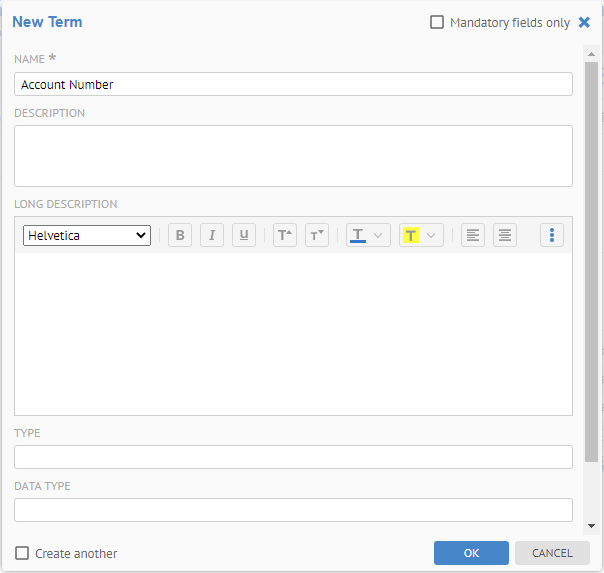
You now see all the possible attributes to set for the new term. The Mandatory fields only checkbox controls whether you may enter the non-mandatory attributes as well, or simply the mandatory attributes when create a new custom object.
Check the Mandatory fields only checkbox.
Click OK
Click on the Account Number term.
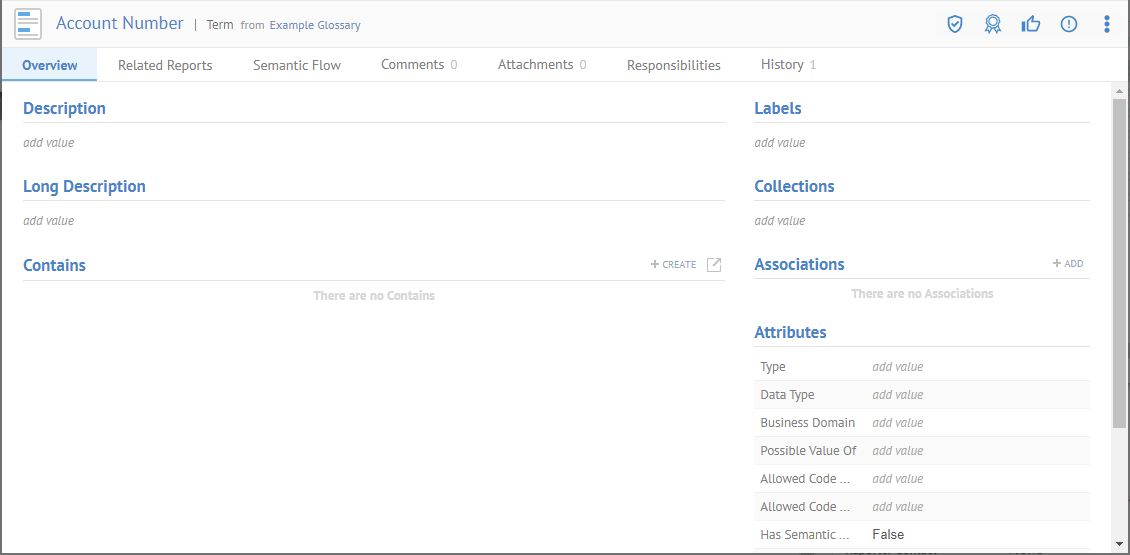
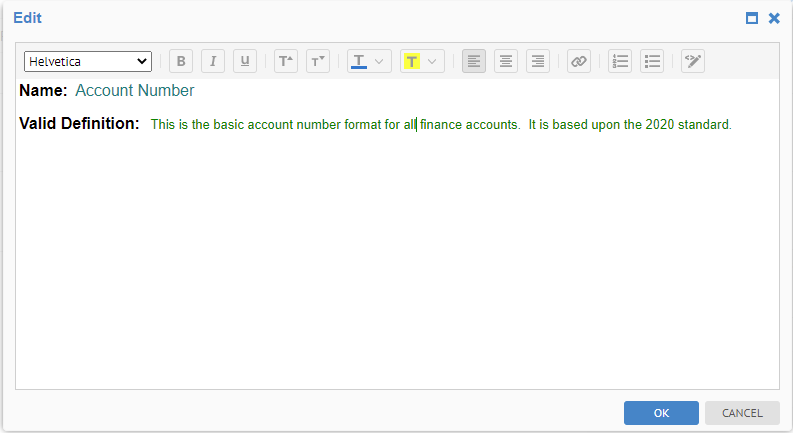
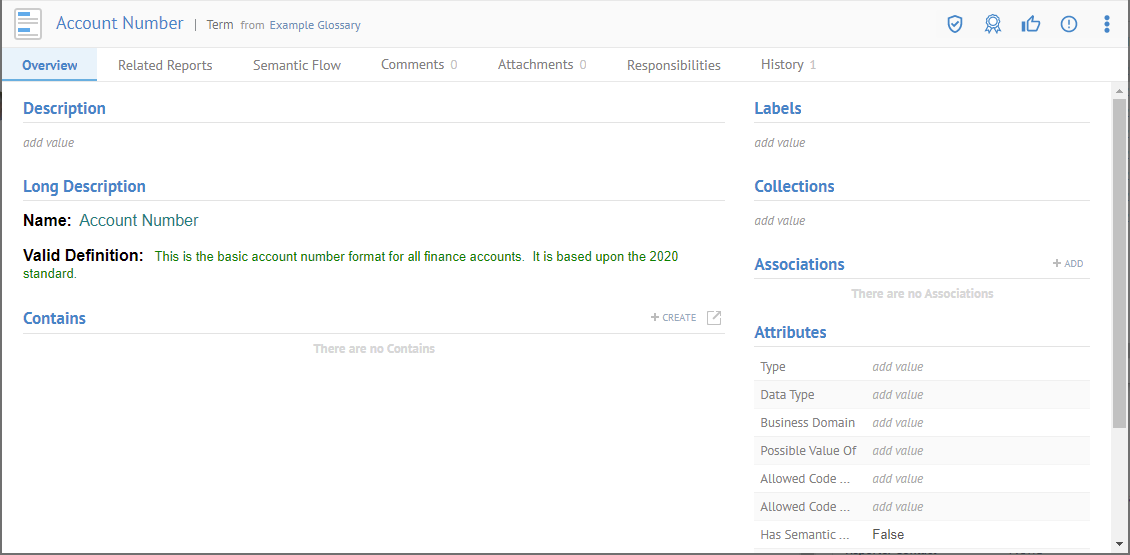
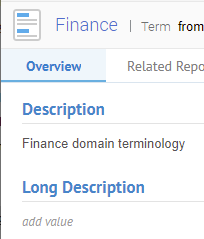
Enter “Generic account number used for all finance accounts” in the Description. Also, enter some text in the Long Description, which is an HTML type attribute.
Return to the root of the glossary and add another term, this time representing a domain which will contain many other terms.
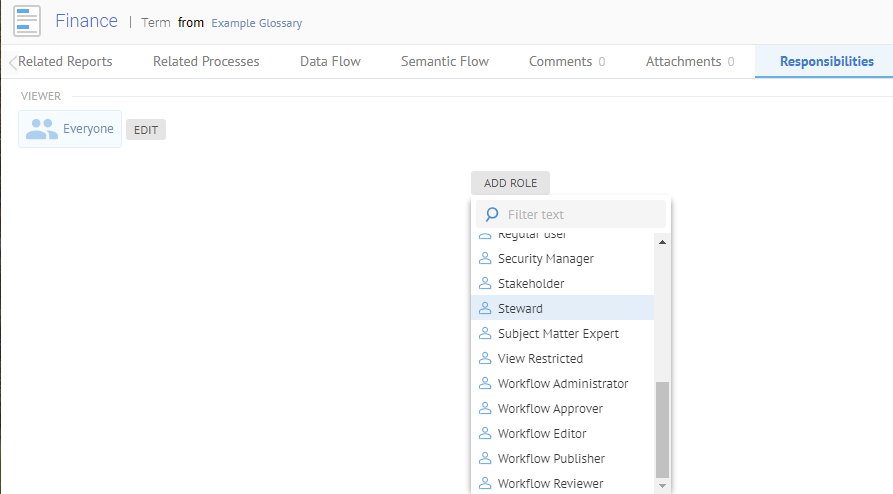
Go to the Responsibilities tab and click ADD ROLE. Assign the Steward role to Stuart Steward for this object.
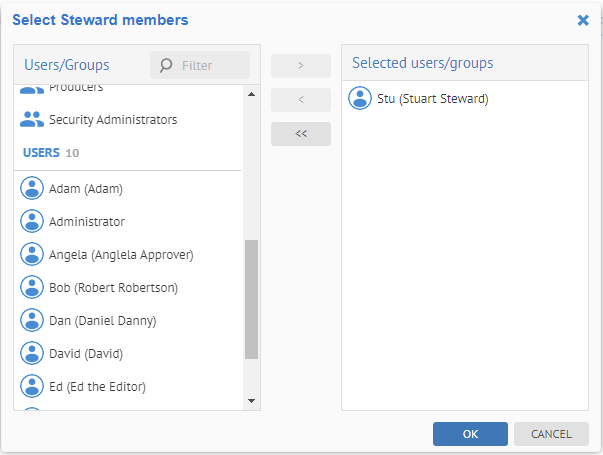
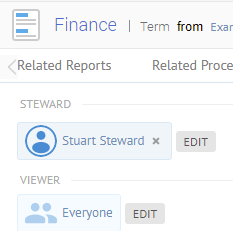
Click SAVE.
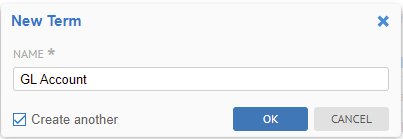
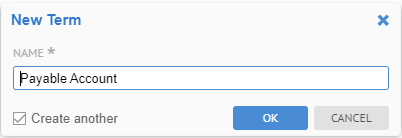
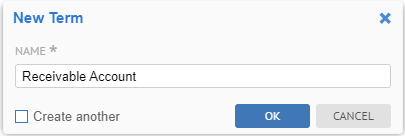
Then, go to the Overview tab and in the Entities section click the Create plus sign and add the following terms (using the Create another checkbox):
Click the Entities tab and switch to Grid mode and add a column for the StewardOBJECT ROLE:
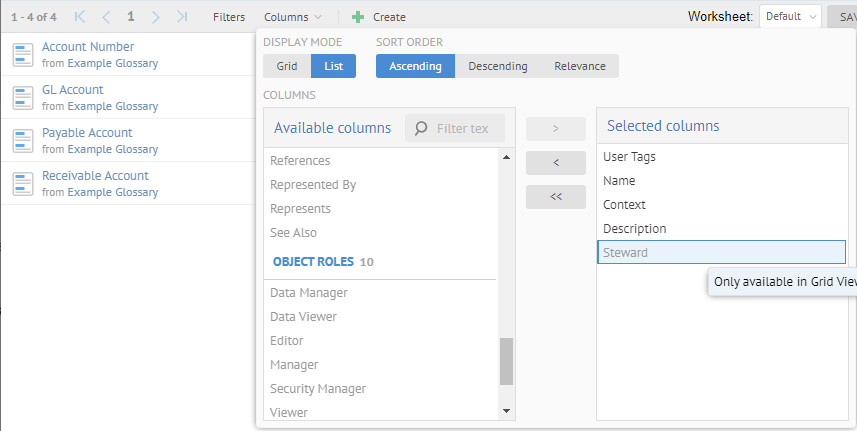
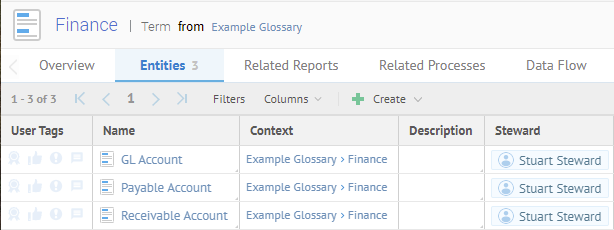
The Steward object role is automatically set to Stu Steward for these three new terms because he is already the Steward of the parent term.
Edit an object
Steps
- Sign in as a user with at least the Metadata Editingcapability object role assignmenton the glossary (custom model) in which you wish to view or edit objects.
- Navigate to the object page of the object or use the Grid Mode to in the Terms or Acronyms (particular object type) or Entities tab to edit the properties of the term or objects you just created.
- In the Grid View, one may edit in place any property associated with any of the rows (or list items in the list view).
Example
Returning to the new terms created inside the Finance domain (term), sign in as Administrator and Navigate to the Finance term object page in the Example Glossary. Then go to the Entities tab.
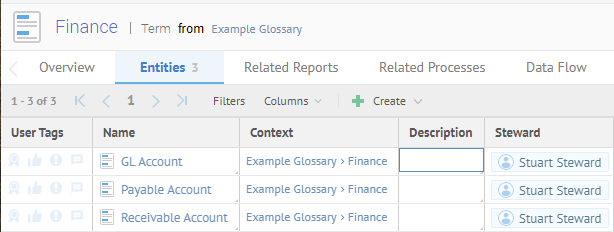
Double-click under the Description header and edit the descriptions as follows:

Move a child object to a new parent object
Many object types (including terms or acronyms) may be moved from one parent (term or glossary) to another within a glossary. The path that an object is in uniquely identifies the object in the glossary.
Steps
- Sign in as a user with at least the Metadata Editingcapability object role assignmenton the glossary you wish to view or edit terms from.
- Navigate to the object page of the object.
- Go to
 More Actions and select Move.
 - Browse to the new location (glossary or term) and click OK.
Example
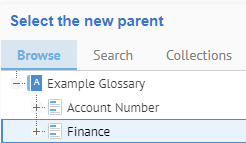
Sign in as Administrator and navigate to the object page of the new term GL Account under Finance Account in the Example Glossary. Go to  More Actions and select Move.
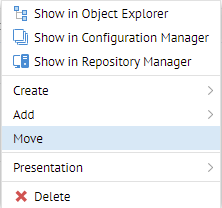
Then browse to the root the Finance domain (term), select it and click OK.
Go to the Hierarchies tab and expand Finance.

Add object associations
Object types in a metamodel may be associated to each other internally within a custom model like a glossary.
For Terms, in particular, the associations have an impact on both semantic usage and semantic definition reporting.
Steps
- Sign in as a user with at least the Metadata Editingcapability object role assignmenton the glossary for which you wish to view or edit objects.
- Navigate to the object page of the object.
- Click the Add plus sign in the Associations section.
- Pick the type of association, then pick the target of the association.
Example
Sign in as Administrator and navigate to the object page of the term Account Number in the Example Glossary. Then click the Add plus sign in the Associations section.
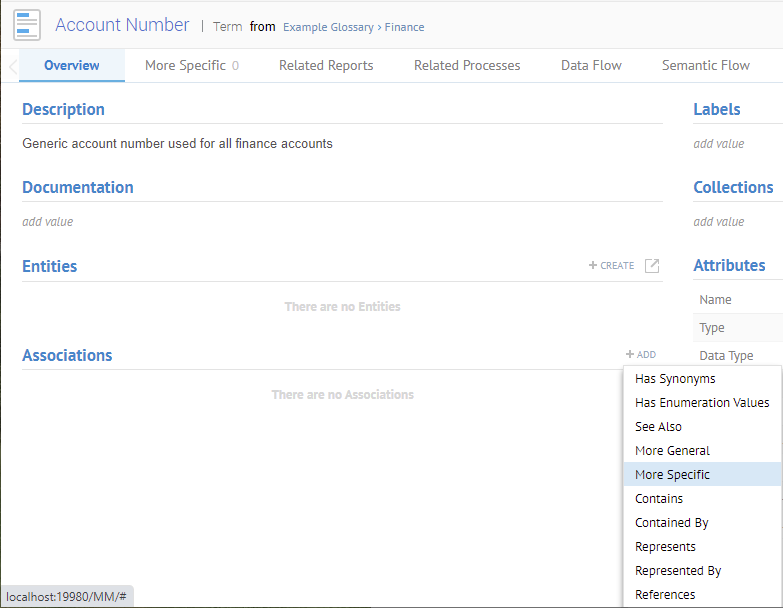
Select the More Specific association.
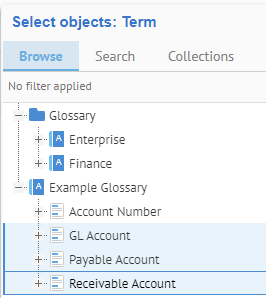
You may define associations with any other custom model, in this case Glossary, which have the object type (in this case Term) that this association is defined to map.
Select the three terms GL Account, Payable Account, Receivable Account and click OK.
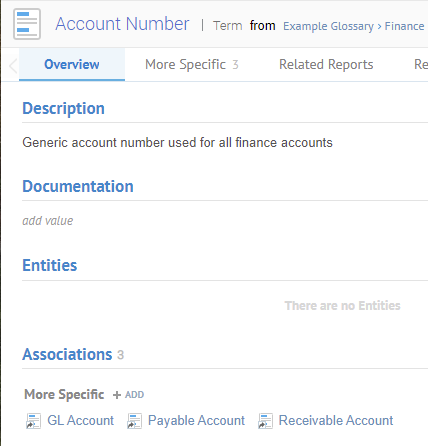
There is now a More Specific tab on the object page as we have defined an (three) example(s) of this association.
Go to the More Specific tab and select Columns > Grid. Then select the More General and More Specific column and add then to the list of columns to display. Click outside the dialog.
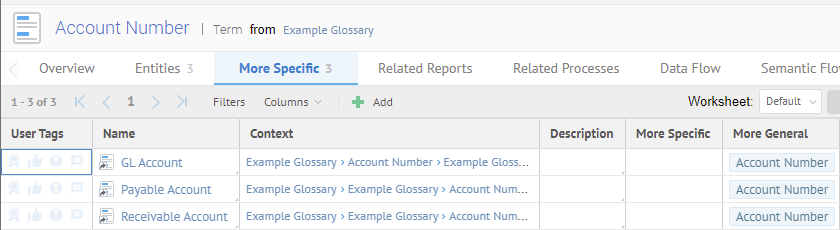
It might surprise you to see that there are no More Specific associations for these terms. However, this presentation is the result of the directionality of the association. More General.
Term Association Types
There are 5 term association types:
- Has Synonym – identifying terms with the same meaning
- Has Acronym
- Contains / Contained By – Containership type relationships, e.g., GL Account contains a Name, and Abbreviation, and Amount Available, etc.
- References/Referenced by – Allow for generic cross-references.
- See Also – identifying terms related as a reference
- More General / More Specific – Generalization / Specification type relationship, e.g., Vehicle is More General than Car or Truck
- Represents / Represented By – Relationship defining a representation or domain for a term, e.g., Account Amount Available is Represented by the Unified Dollar Amount which expresses the number of digits to use, etc.
- Sign in as a user with at least the Metadata Editingcapability object role assignmenton the custom model (e.g., glossary) for which you wish to delete objects.
- Navigate to the object page of the term or use the Grid Mode to in the particular object tab.
- Click the DeleteX.
- In the grid view, one may select and delete in place any of the rows (or list items in the list view).
By default, a glossary, like any custom model, will have no workflow requirement, thus there will be no formal review and approval process. Without workflow, all Metadata Viewing, Editing and Managementcapability object role assignments may be used to manage access and update.
Talend Data Catalog also provides a very flexible and complete set of possible workflow and publication processes that you may employ. When your organization would like to have a more formal custom model or glossary development process that involves multiple users with various reviewer/approver/publisher object roles you can enable the glossary workflow. The workflow is a prepackaged sequence of activities around object proposal, editing, review, acceptance, publishing and depreciation. It is a flexible process that can be customized to require only publishing activity, approval with or without review, approval and review by one or multiple users, etc.
You may see the functions with workflow defined below.
When you enable workflow Talend Data Catalog creates another version of the glossary named Published. The Published version is the one that is to be presented to most of the users. Its contents are not directly editable (with or without permission). Instead, one edits the Development version and then uses the Publish workflow step to change what is in the Published glossary.
The particular version (Published or Development) that user sees is entire system managed. Thus, you will have access to the
- Published version of the glossary if you do not have any Workflowcapability object role assignments, and you will not have any ability to edit the glossary or see current edits and workflow states. You will only see what was published.
- Development version of the glossary if you do not have any Workflowcapability object role assignments, and you will have the ability to see glossary object in their current workflow status
Remember, a glossary is just of an example of a custom model. In this case it is based upon the Glossary model type. As it is a custom model, you may customize it. Also, these same workflow processes may apply to any object type in the metamodel.
The Sensitivity Label and all the curation tags (Certified, Endorsed, Warned, and Comment) are not attributes/properties of the object (in this case a term) but additional labels or tags. Just as you can add and remove Label assignments and Collection assignments without it being impacted by workflow, so too can you do so with these other labels and tags. They are NOT included in the workflow process.
Steps
- Sign in as a user with at least the Workflow Managementcapability object role assignmenton the glossary you are in.
- Go to the MANAGE > Configuration in the banner and select the glossary.
- Click the Workflow tab.
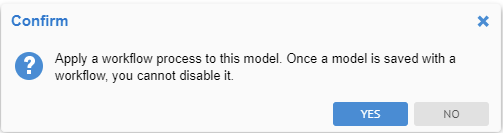
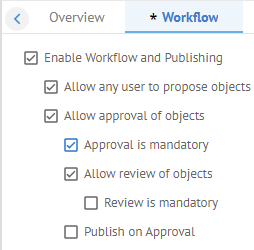
- Check the Enable Workflow and Publishing checkbox and click YES to confirm.
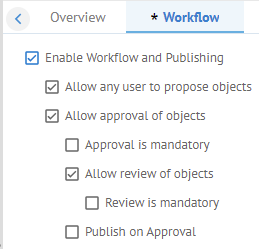
- Check the workflow entries you wish to specify. These include:
- Allow any user to propose objects. Any user with the Metadata Viewercapability object role assignmenton the glossary may still Propose objects.
- Allow approval of objects. The Pending Approval and Approved steps is included in the workflow. If so, then two other options are available:
There is a special feature to provide true backwards compatibility with earlier versions of the workflow. Even if the Allow approval of objects option is not checked, the workflow will still respect the sub options (below). Thus, if you specify Allow review of objects, you will not have access to the Pending approval state, but you will have access to the Approved state to enable the review. And the transition name to the approved state is Approve.
To change these sub options even when the Allow approval of objects option is NOT checked, then
-check Allow review of objects
-then you will be able to uncheck the sub option feature
-Then uncheck Allow review of objects.
- Allow review of objects. The Under Review step is included in the workflow.
- Publish on Approval. The separate step for publication is not include in the workflow and publication occurs on Approval.
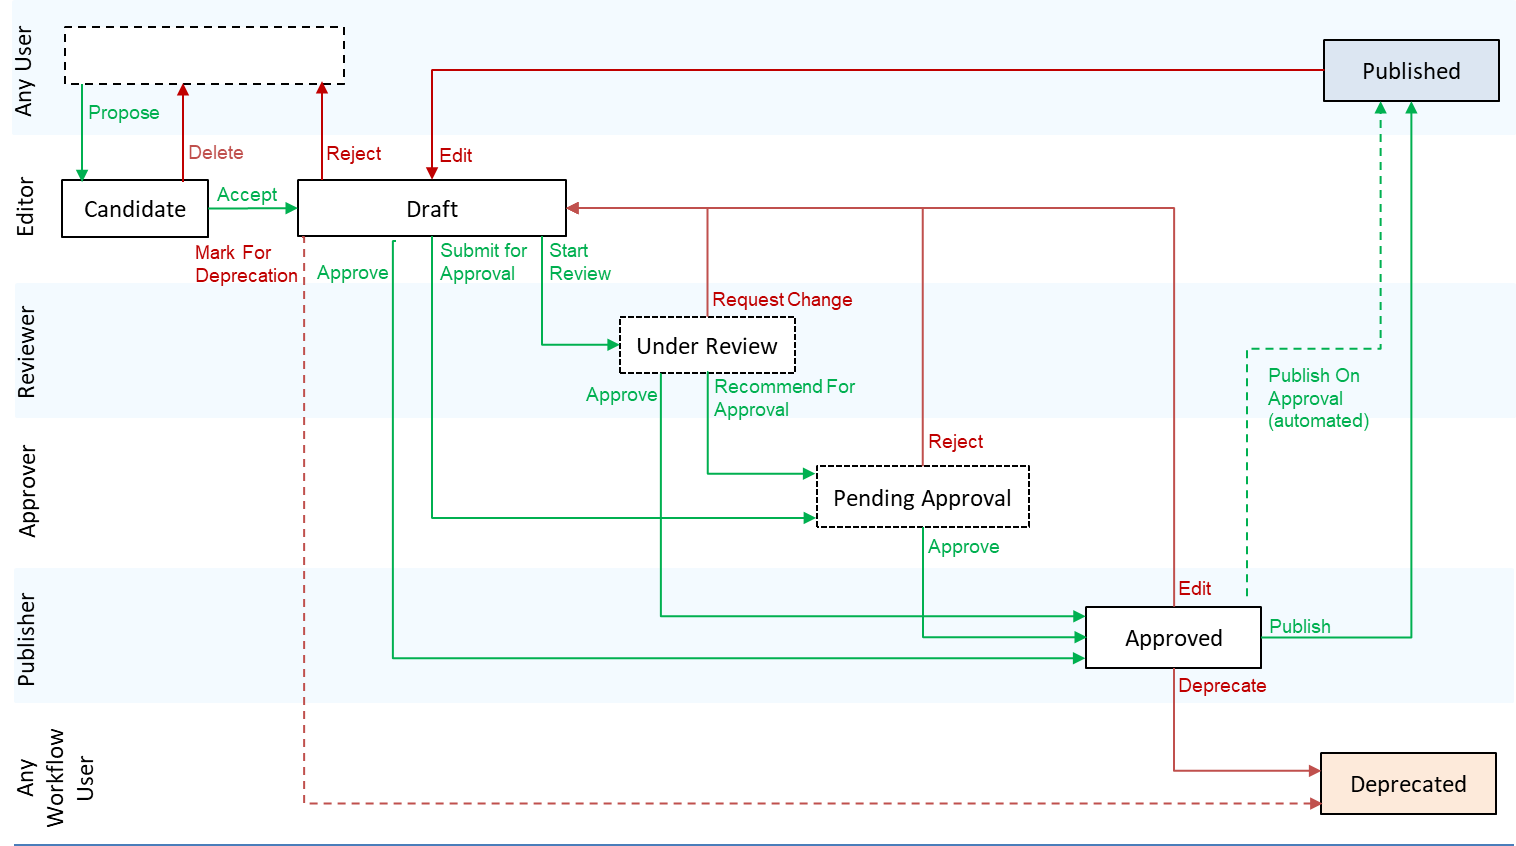
The most complete workflow possible is in the diagram below:

- Click Save.
Example
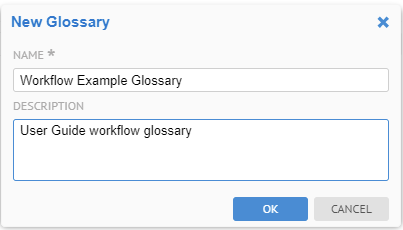
Sign in as Administrator, go to MANAGE > Configuration and create the glossary WorkflowExample Glossary.
Go to the Workflow tab and Check the Enable Workflow and Publishing checkbox.
Once enabled, you cannot disable the workflow after it has been enabled. However, you may change some of the options.
Click YES.
Several steps may be optional or mandatory, including Review, Approval and Publish.
Click SAVE.
Now, return to the Workflow tab.
You may update the workflow step options but cannot disable the workflow.
Assign Workflow Responsibilities
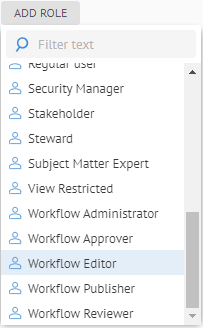
A user with the Workflow Managementcapability object role assignmentcan enable the workflow and assign the following workflow object roles to glossary objects:
- Workflow Editor
- Workflow Reviewer
- Workflow Approver
- Workflow Publisher
Object roles may have one or more of these workflow capabilities, and these workflow object roles can be assigned as responsibilities which apply to all objects in a glossary (or other custom model).
The workflow process applies to changes to objects in the glossary and their associations.
Editor Workflow Object Role
The Editor is responsible for creating, revising and shepherding objects through the approval process. The Editor can import objects into the glossary from files or create them manually. These objects start in the Draft status. The workflow can allow any glossary user to propose an object. A proposed object starts in the Candidate status. The Editor can accept the object by promoting it to Draft or deleting it. The user who created the object can edit and delete it as long as it is Candidate.
When the approval activity is disabled, the Editor is solely responsible for the objects’ workflow. In this case, the Editor takes on the Publisher’s responsibilities and can publish objects when the Editor deems ready.
Reviewer Workflow Object Role
The Reviewer is a subject matter expert (SME) responsible for assessing and commenting on assets under development. The Reviewer can list assets assigned to him/her for the review and comment, endorse or dismiss them individually. Each of the assets offers the Reviewer the Comment, Recommend for Approval and Request Change buttons. Pressing the buttons allows the user to explain the decision with a comment.
The Request Change action sends the asset back to Draft. The Editor is responsible for implementing requested changes or providing clarifications and re-submitting the asset for review again. The review is an iterative activity.
Approver Workflow object role
The Approver is an accountable decision maker who is responsible for rejecting or approving new assets of changes to published assets. The Approve action advances the asset to the Approved status. The Reject action returns the asset to the Draft status.
The approval activity is a part of the workflow process by default. The Administrator can disable it by setting the Allow approval of objects flag to No.
Publisher Workflow object role
The Publisher is an accountable decision maker who is responsible for publishing assets. Talend Data Catalog provides a single configuration version view of the metadata. It is designed for reviewing the repository content by business users in the Published version.
When you enable workflow Talend Data Catalog creates another version of the glossary named Published. The Published version is the one that is to be presented to most of the users. Its contents are not directly editable (with or without permission). Instead, one edits the Development version and then uses the Publish workflow step to change what is in the Published glossary.
The particular version (Published or Development) that user sees is entire system managed. Thus, you will have access to the
- Published version of the glossary if you do not have any Workflowcapability object role assignments, and you will not have any ability to edit the glossary or see current edits and workflow states. You will only see what was published.
- Development version of the glossary if you do not have any Workflowcapability object role assignments, and you will have the ability to see glossary object in their current workflow status
When workflow is enabled you can still make multiple changes to different glossary objects and publish all changes at once or groups of changes at a time.
When the workflow is not enabled all changes made are immediately visible to all users. With proper permissions, you can change an object by editing its attributes (e.g. description) and adding/removing its relationships (e.g. contains).
Steps
- Sign in as a user who has Workflow Managementcapability object role assignment for the glossary you wish to assign workflow object roles.
- Navigate to the glossary.
- Go to the Responsibilities tab.
- Click ADD ROLE.
- Select the object role to assign.
- Select the users and groups to be assigned the responsibility.
- Click OK.
Example
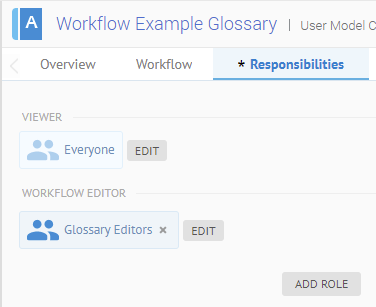
Sign in as Administrator and go to MANAGE > Configuration. Select the Workflow Example Glossary. Go to the Responsibilities tab.
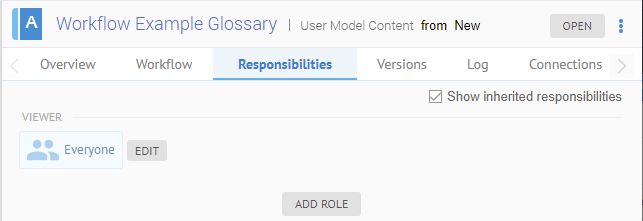
Select Workflow Editor.
Select the Glossary Editors group.
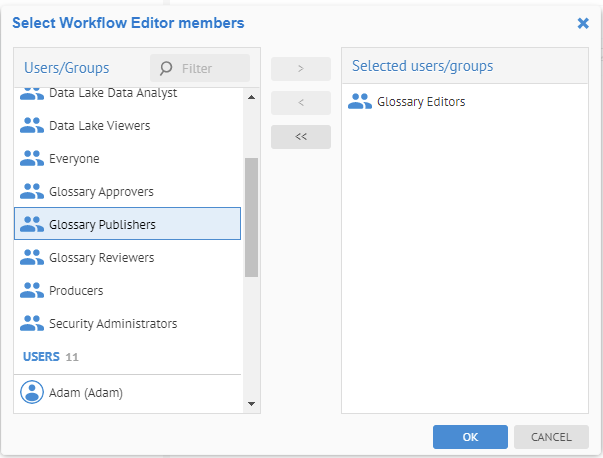
Click OK. Then SAVE.
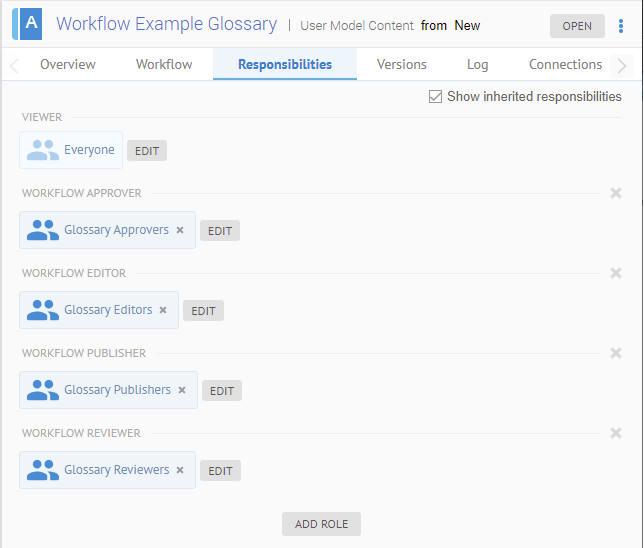
Now, also assign these responsibilities combinations to the same glossary:
- WORKFLOW REVIEWER <> Glossary Reviewers
- WORKGLOW APPROVER <> Glossary Approvers
- WORKFLOW PUBLISHER <> Glossary Publisher.
Add a new object with workflow
Adding a new object with workflow enabled is much like the process without workflow, except that there are review/approval/publishing steps to follow.
In addition, if the option to Allow any User to Propose Objects is selected when enabling workflow, any user may propose an object.
Steps
- Sign in as a user which has EditorWorkflow object role assigned for one or more terms or the glossary itself.
- Navigate to that object page of the glossary to place a object in the root, or to a parent you wish to place it under (contained by).
This interface is simply the standard object page and all the same features are available.
- In the section for that object click the Create plus sigm.
- Enter the Name of the new object.
You may check the box to Create another object to cause the New dialog to stay open for adding additional objects each time you click OK.
- Click OK.
- After creating, you must move the object through the workflow before the results are visible in the Published configuration.
Example
Sign in as Ed (the Glossary Editor).
Add the Account Number term to the Workflow Example Glossary.
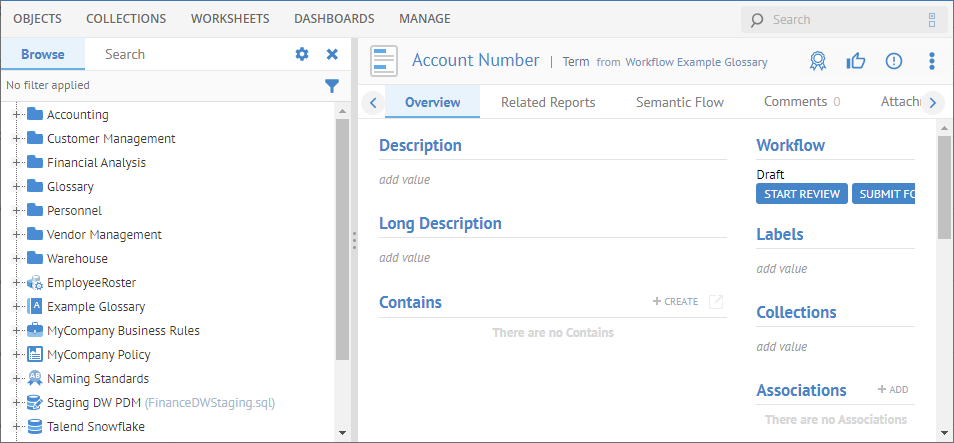
The term is now in the Draft workflow state. In this state the editor may edit the term or START the REVIEW process.
Any User may Propose an Object (Term)
If the option to Allow any User to Propose Objects is selected when enabling workflow, any user may propose a term.
The new term becomes a Candidate and will not be visible to the user who proposed the term until it is Published.
Steps
- Sign in as a user without any workflow responsibilities.
- Navigate to that object page of the custom model (e.g., glossary) you for which you wish to propose an object (e.g., Terms or Acronyms).
- Go to More Actions and select Propose > (object).
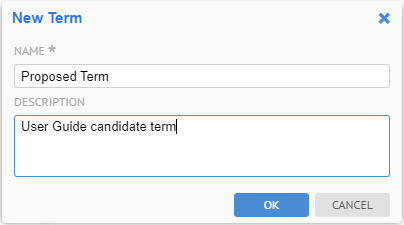
- Enter a NAME and DESCRIPTION.
- Click OK.
The new term becomes a Candidate and will not be visible to the user who proposed the term until it is Published. You may, however, review proposed objects.
Example
Sign in as Bob (which is a simply a Business User without any workflow responsibilities) and navigate to that object page of the Workflow Example Glossary.
Go to  More Actions and select Propose > Term.
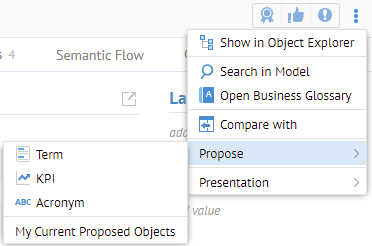
Enter “Proposed Term” for the NAME and “User Guide candidate term” DESCRIPTION
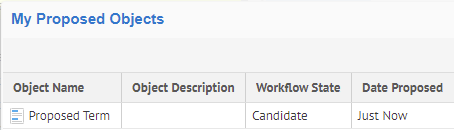
The new term becomes a Candidate and will not be visible to the user who proposed the term until it is Published.
However, sign in as Administrator and you will see the candidate term:

Review Proposed Object Status
You may review the status of the object you have proposed to see where they are in the approval process.
Steps
- Sign in as a user without any workflow responsibilities.
- Navigate to that object page of the custom model (e.g., glossary) you for which you wish to propose an object (e.g., Terms or Acronyms).
- Go to More Actions and select Propose > My Current Proposed Objects.
The proposed object starts out as a Candidate and will not be visible to the user who proposed the term in any other way Published.
Example
Sign in as Bob (which is a simply a Business User without any workflow responsibilities) and navigate to that object page of the Workflow Example Glossary.
Go to  More Actions and select Propose > My Current Proposed Terms.

Edit an object (term) in a custom model (glossary) with workflow
Steps
- Sign in as a user with the Workflow Editorcapability object role assignmenton the custom model (glossary) where the object resides.
- Navigate to that object page of the custom model (glossary) or use the Grid Mode to edit the properties of the object (e.g., term).
You may also use the My Workflow Tasks or My Changed Objects.
- When analyzing metadata in grid mode, one may bulk update any property associated with any of the rows (or list items in the list view).
- After editing, you must move the term through the workflow before the results are visible in the Published configuration.
This interface is simply the standard object page and all the same features are available. However, according to the workflow steps one must first place the object in Draft status. To do so for an Approved object, click on the Create Draft button in order to allow editing. One may also create a new object which will be placed in Draft status using one of the methods below.
Example
Sign in as Ed (the Editor) that we assigned the proper responsibilities to the Workflow Example Glossary and search for Account Number and pick the term that is in this glossary.

It is in the Draft workflow state and thus ready for editing.
If you sign in as a user without workflow responsibilities to this glossary, the term will not be visible as it was never published.
Enter “General purpose account number for the finance domain” in Description.
Click the Create plus sign in the Contains section and pick Acronym. Enter “AcctNr” in the New Acronym dialog and click OK.
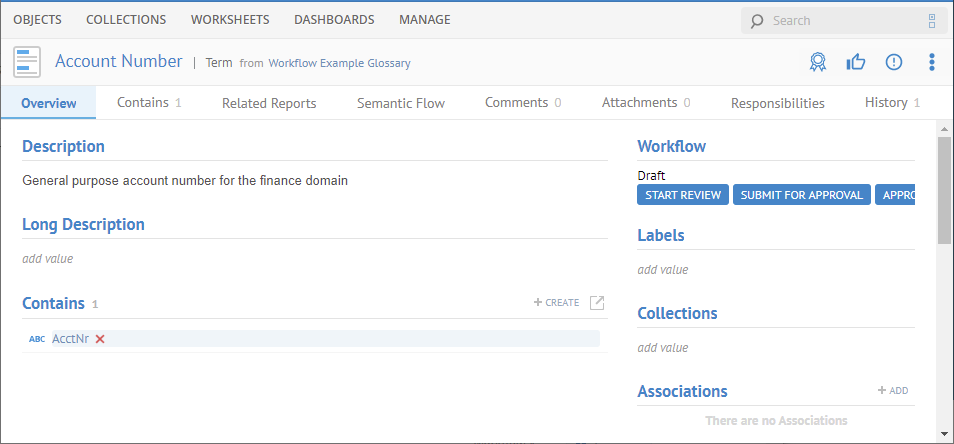
Click START REVIEW to move the term on through the workflow for reviewers.
Move an object (term) through the workflow
Adding and editing an object with workflow enabled is much like the process without workflow, except that there are review/approval/publishing steps to follow.

Steps
- Sign in as a user with the Workflow Editor/Reviewer/Approver/Publishercapability object role assignmenton the glossary (custom model) where the object (term) resides.
- Navigate to the object page of the object (term) or use the Grid Mode to update the workflow state of the object (term).
You may also use the My Workflow Tasks or My Changed Objects.
- When analyzing metadata in grid mode, one may bulk update any property associated with any of the rows (or list items in the list view).
This interface is simply the standard object page and all the same features are available. However, according to the workflow steps one must first place the term (term) in Draft workflow state. To do so for an Approved object (term), click on the Create Draft to allow editing. One may also create a new object which will be placed in Draft state using one of the methods described.
Example
Sign in as Ed (the Editor) that we assigned the proper responsibilities to the Workflow Example Glossary and search for Account Number and pick the term that is in this glossary.

It is in the Draft workflow state and thus ready for editing.
If you sign in as a user without workflow responsibilities to this glossary, the term will not be visible as it was never published.
Click START REVIEW to go to the review step.
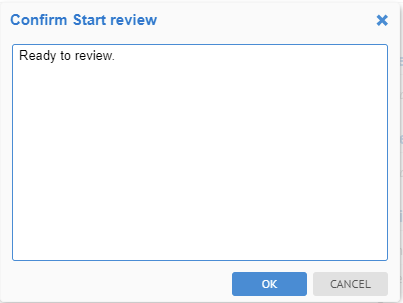
Enter a comment that is tied to this workflow transition.
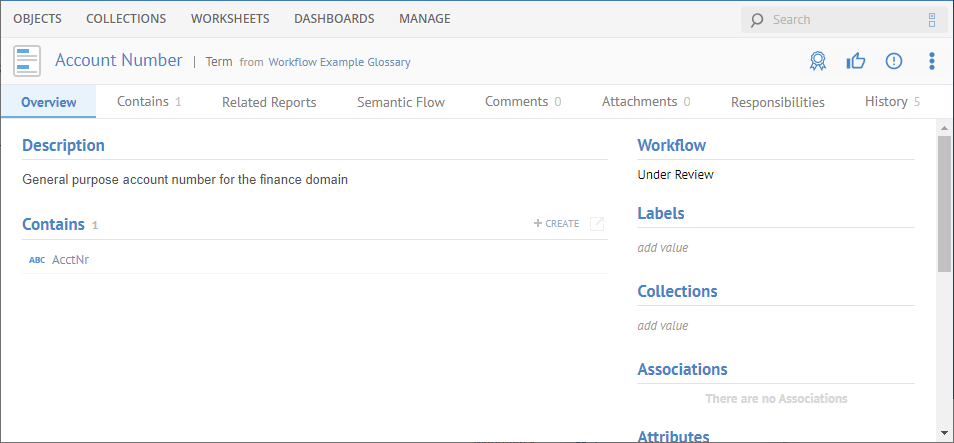
The term (object) is Under Review.
Also, the next transition buttons (REQUEST CHANGE and RECOMMEND APPROVAL) are not displayed. This is because Ed is not a Glossary Reviewer.
To review, we should sign in as Robin, who is a member of the Glossary Reviewers. Please do so.
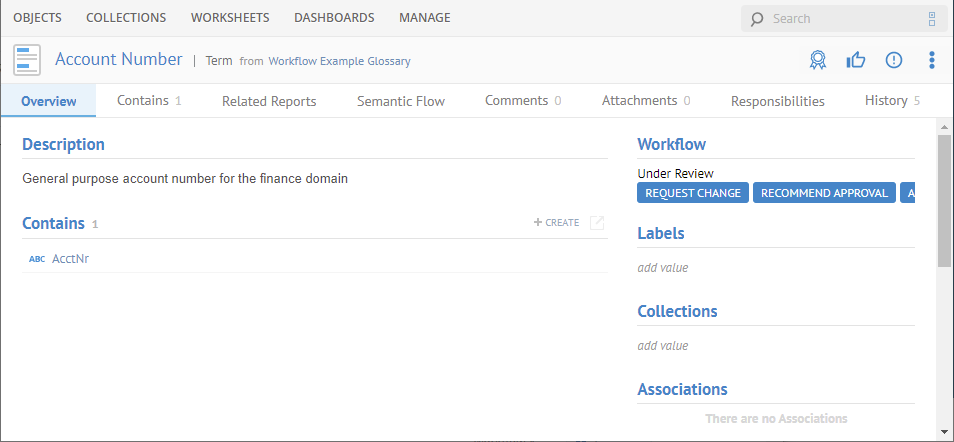
Click RECOMMEND APPROVAL to send it on to the approver, enter a comment and click OK.
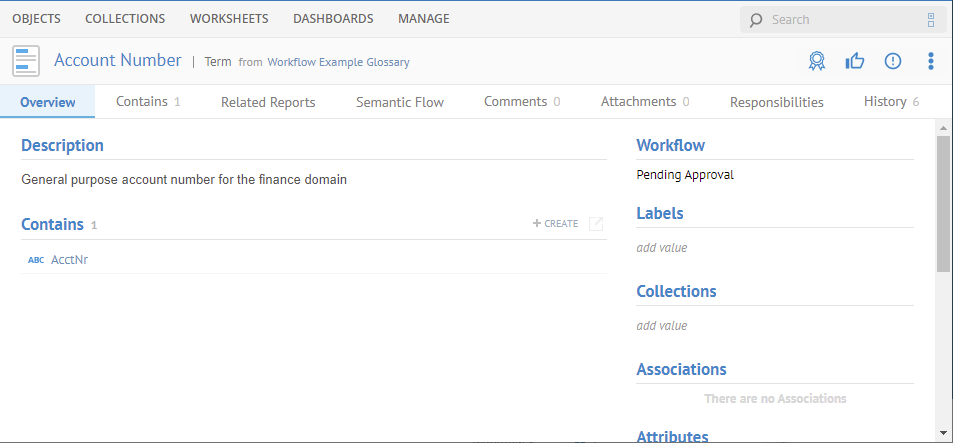
Now, we should sign in as an approver. This time, however, after signing in as Administrator we will go to OBJECTS > My Workflow Tasks.
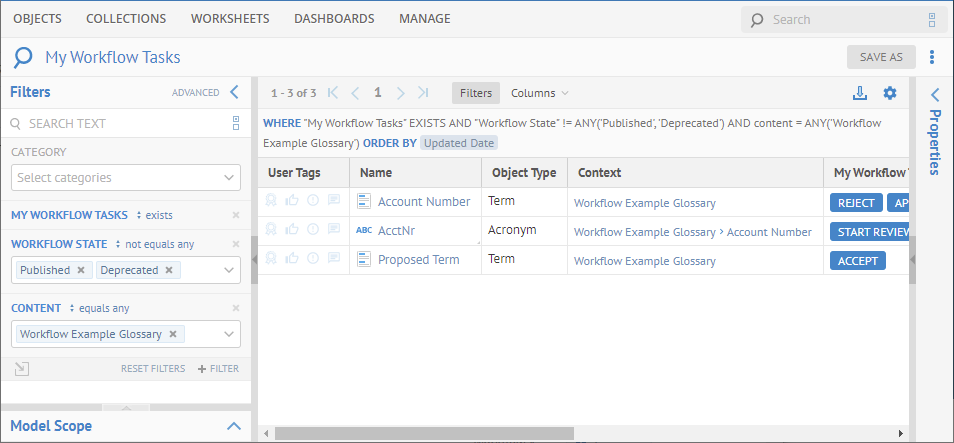
We see there are three objects to shepherd through the workflow, and we completely forgot about one of them, i.e., the acronym we created.
Let’s deal with that acronym now as we are Administrator:
Click START REVIEW on the acronym, comment and click OK.
Click RECOMMEND APPROVAL on the acronym, comment and click OK.
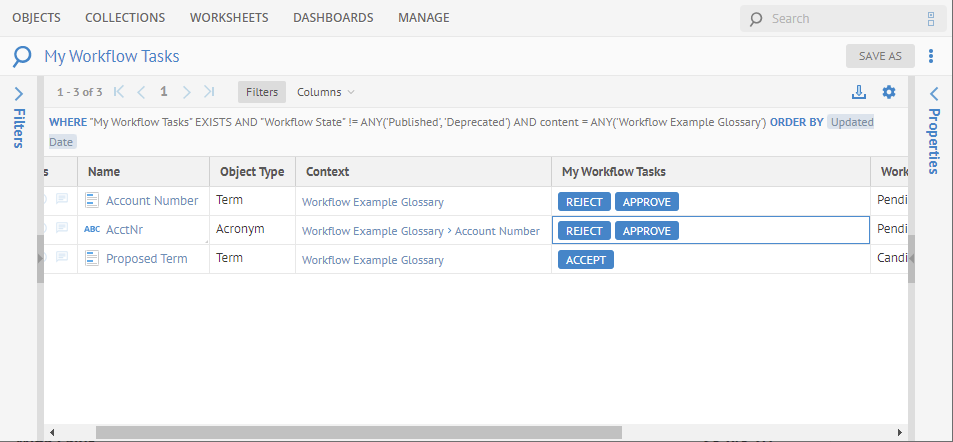
Now, both the Account Number term and the AcctNr acronym are in the same status. Thus, we can work on them in bulk now.
Select both objects (lines) and click the More Actions in the 2 selected button
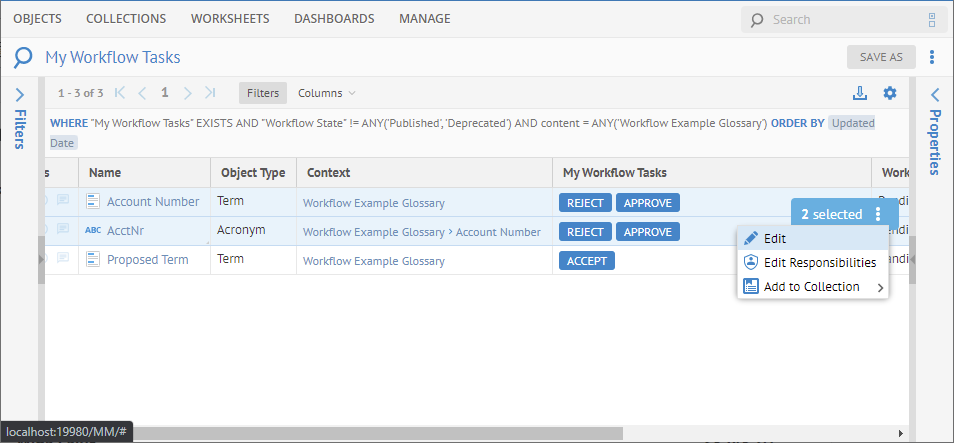
Click Edit, check the box next to Workflow transition, enter a comment and select Approve.

Click OK.
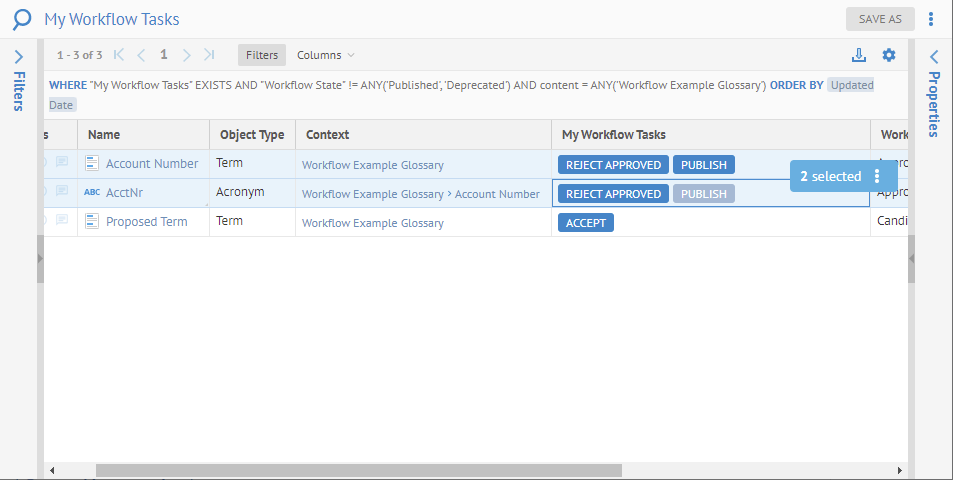
The parent object (the term) is ready to publish. The child object (the acronym) must await the publication of the parent.
So, click PUBLISH first on the term then on the acronym (refresh in between), and we are done.
Now the term is visible to Bob.
Move a child object (term) to a new parent object (term) with workflow
Before you Publish a child object (e.g., term contained within a term) or Approve if automatic publishing is enabled, you must first Publish the parent object. Thus, when adding an entire structure of objects under workflow and in a hierarchy, you must either Publish the parents first (and in order down the hierarchy) or select all using the bulk update and Publish all at once.
Deprecate an object (term) with workflow
You may not simply delete an object. Instead, you must move it through the defined workflow process until it is Deprecated. The process is basically identical to the publication process, except that one marks the object (term) for deprecation by setting the Workflow Deprecation Requested under Attributes of the object (term) to “True” when editing the Draft.
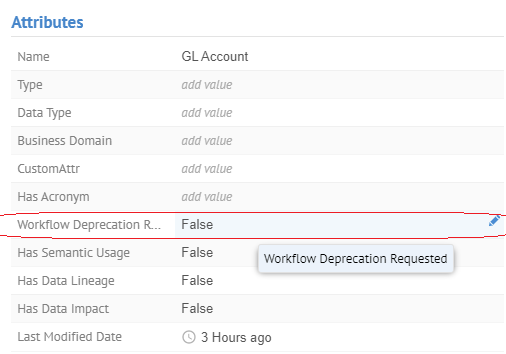
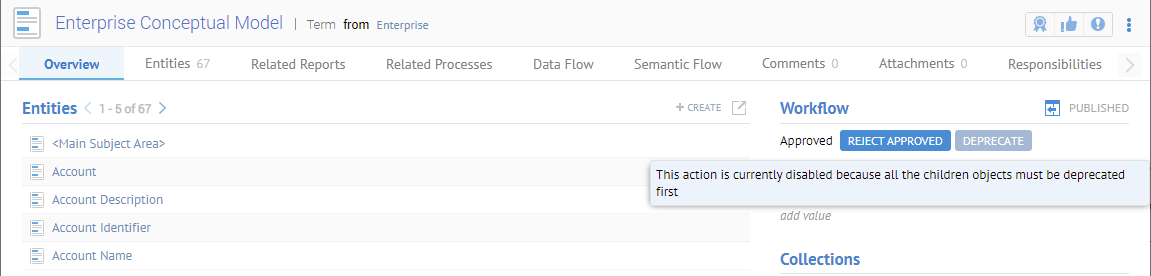
When deprecating a term, all child terms must first be deprecated.
Workflow Actions in Grid Mode
When analyzing metadata in grid mode you may include a special column Workflow Actions to display the possible workflow step-based actions available to you with the workflow object role assignments you have.
Please see the example under Move an object (term) through the workflow.
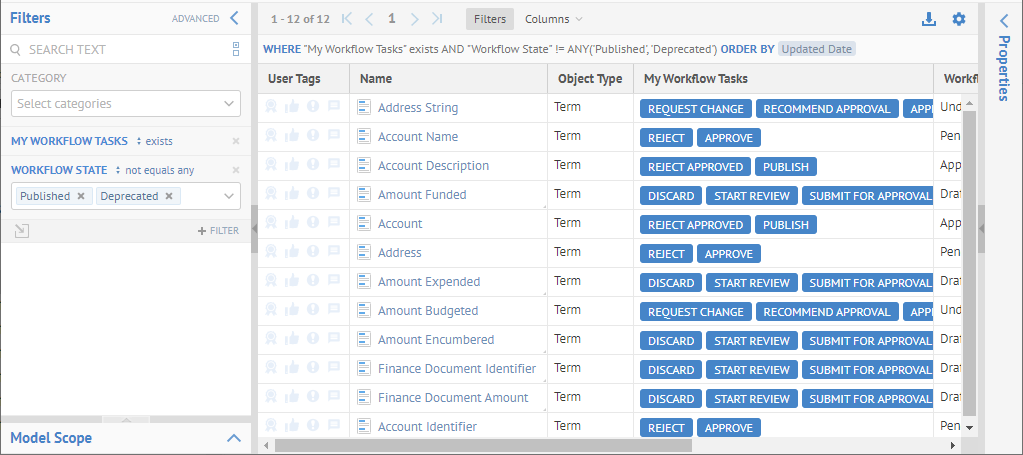
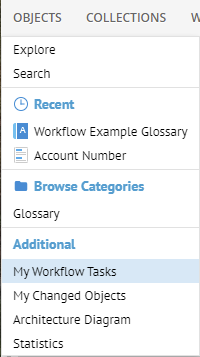
My Workflow Tasks
Workflow based search criteria, or dashboards, are available as part of the search capability. They are only available (and only meaningful) if you have specified a workflow process for the glossary (custom model).
Please see the example under Move an object (term) through the workflow.


Did this page help you?
If you find any issues with this page or its content – a typo, a missing step, or a technical error – let us know how we can improve!