
Manage Data Classes
You may manage the data-detected and metadata-detected classes, from the list of classes.
Steps
- Sign in as a user with at least the .
- Go to MANAGE > Data Classes in the banner.
- The list of data classes is presented.
- You may also

Example
Sign in as Administrator and Go to MANAGE > Data Classes.
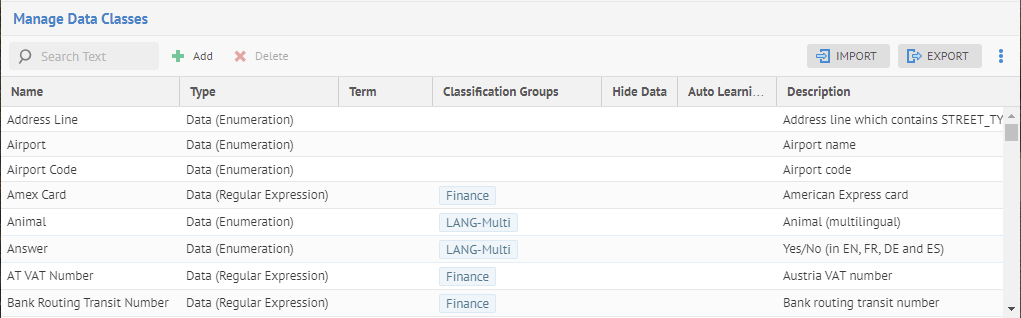
Enter “Belgium” in the  Search box.
The search text may match text in both the Name and Description.
Add a Data Class
Steps
- Sign in as a user with at least the Application Administratorcapability global role assignment.
- Go to MANAGE > Data Classes in the banner.
- Click the plus sign to Add a new data class.
- Specify the Type, which is in this case is Data
- Specify the Name.
- Pick one or more Groups that this data class is to be a member of.
You may classify the data of a model by group.
- Specify the Description.
- Click Save.
Example
Sign in as Administrator and go to MANAGE > Data Classes.

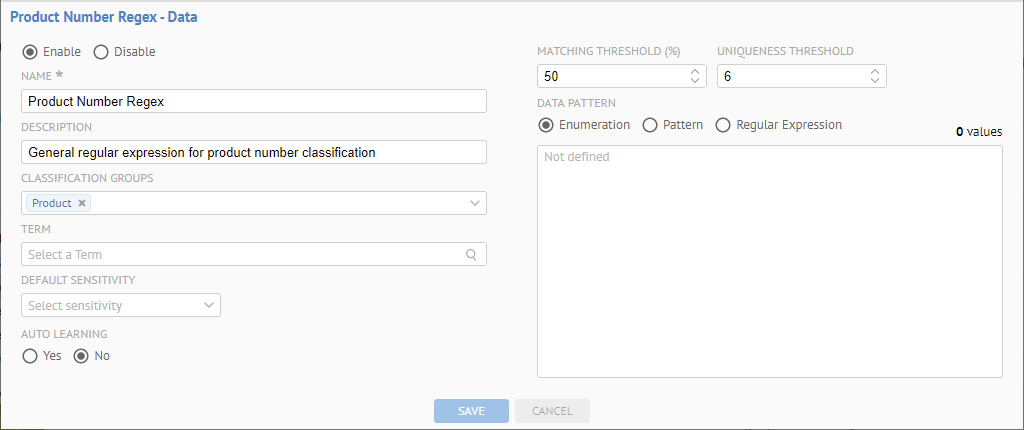
Click the Add plus sign. Click Data as the Type of data class and enter
- “Product Number Pattern” as the NAME
- “Product” in the GROUPS
- “General regular expression for product number classification” as the DESCRIPTION

Click OK.
Edit a Data Class
Depending upon the Type of data class one is working with:
the options will be different. However, for all types, there are common actions and properties.
Steps
- Manage data classes.
- If the data class does not yet exist, add the data class.
- Select the status of the data class:
- Enable: This data class will be included in the next data classification operation.
- Disable: This data class will not be included in the next data classification operation.
Even though a data class is disabled, it may still be manually assigned and unassigned from an imported object.
- Edit the following text fields:
- NAME: Name of the data class
- DESCRIPTION: Primary text description of the data class
- Pick one or more data CLASSIFICATION GROUPS this data class is to be a member of.
You may classify the data of a model by group.
- Pick a TERM from a glossary this data class will be associated with. This term will be used as part of the semantic lineage just as one that is semantically mapped or classified.
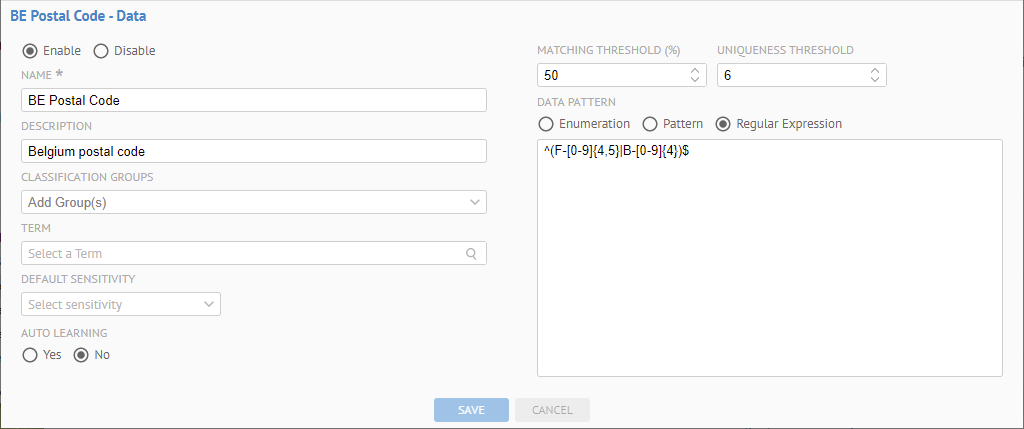
- Select DEFAULT SENSITIVITY: specifies the Sensitivity Label that will be assigned to and data element that classified by this data class. Sensitivity Label assignment can control the hiding of data profiling and sampling information on the object page even for data viewers.
When a harvested object has data profiling and sampling information on its details its page shows them, by default, if one has the Data Viewercapability object role assignment. However, when a harvested object has a proposed or assigned data class resulting in a Sensitivity Label that has the HIDE DATA flag, then its data profiling and sampling information is not shown on the object page for data viewers.
When the Data Hide attribute of the harvested object is set to True it ignores the Data Hide flag of its data classes.
- Select Auto Learning: to allow the data class to be auto-populated with a pattern based upon existing imported objects.
- Click SAVE.
The options will be different depending upon what type of data class you are editing. However, for all types, there are common actions and properties.
Example
Sign in as Administrator and go to MANAGE > Data Classes.

Enter “Product” in the  Search box.
Click the line for the Product Number Pattern class
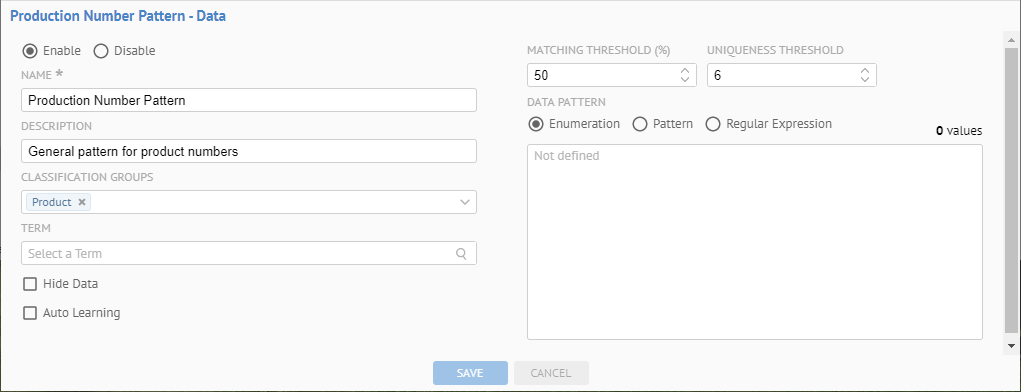
Enter the pattern “AA-A999”in the DATA PATTERN box. Select “20”in the MATCHING THREASHOLD (%) box. Click SAVE.

Did this page help you?
If you find any issues with this page or its content – a typo, a missing step, or a technical error – let us know how we can improve!