
Examples
Database table
Enter “PurchaseOrder” in the Search text box in the upper right.

As you see, the PurchaseOrder table in dbo schema in the Staging DW model is first in the list because it is certified.
Select the PurchaseOrder table in the FinanceDWStaging.sql catalog, in dbo schema in the Staging DW model.

There is a downward facing caret allowing you to expand or contract each section/widget in the object page Overview tab.
Tables in a database generally have a great deal of related information in tabs. For example, we have:
- Related Reports
- Columns contained within this table
- Data Sample
- Relationships including PK/FK, inferred and user-defined relationships with other tables. Especially important when joining this table with others, such as in a self-service BI tool.
The numbers next to the tab headings, e.g., Columns 7, indicate how many items are under that tab.
For other tabs, like Data Flow or Semantic Flow, we see arrow indicators showing what lineage reports are available.
Search for POLineItemView in the same model.
Click MORE on the value presented in the View Statement.
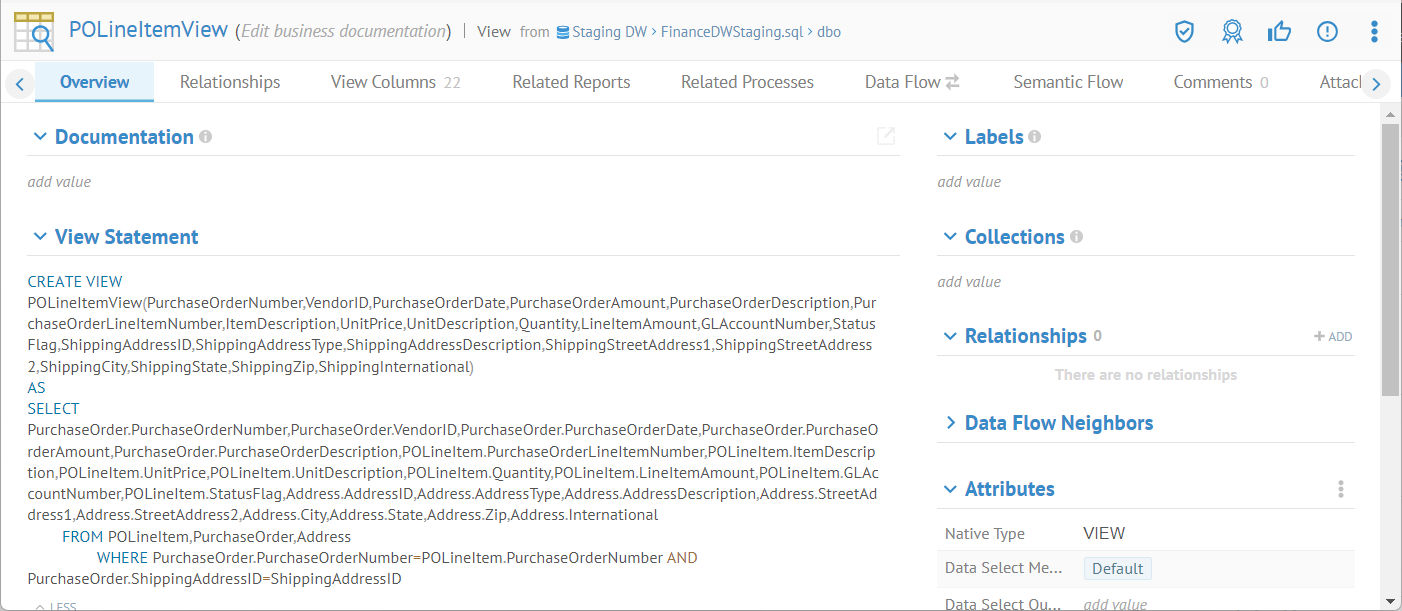
One may always either click MORE or right-click and select Show value to see details in the attributes listings which are longer than can be displayed on the object page itself.
File with Profiling Information
Go to Employee.csv.


The File Size property is in bytes.
The Conditional Labels and Data Classifications are shown by default.
Now, go to JobCandidate.csv.

The Conditional Labels and Data Classifications are not shown. This is because none of the fields in the list have values for those two columns. Thus, they are not shown at all. You may customize any worksheet list like this to Hide empty columns.
Field in a file with profiling information
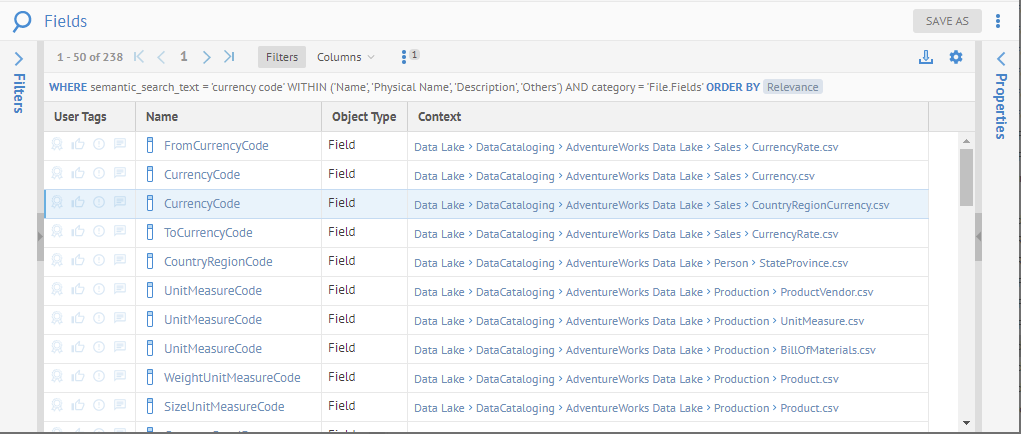
Enter “currency code” in the Search text box in the upper right.

Click SHOW MORE. Then, in the Filters panel at the left, select CATEGORY > File > Fields.

Click outside the pull-down and the results are filtered.
Select the Currency Code field in the CountryRegionCurrency.csv file.
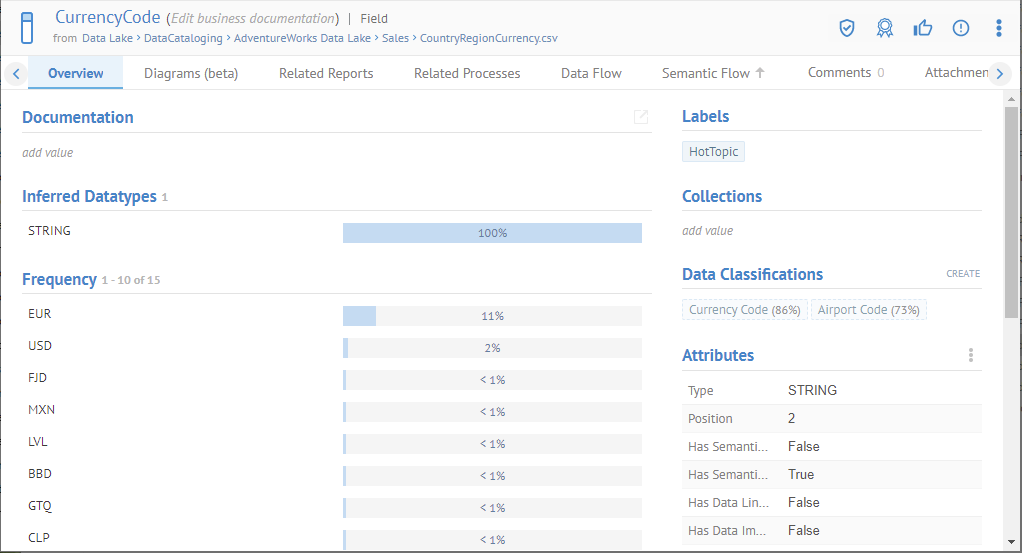
Profiling data is presented for the field. This data is obtained by sampling a subset of the records in the source. See harvesting and sampling for more details.
Click CountryRegionCurrency.csv in the breadcrumb area to the right of the name of the field:

This is the file containing the Currency Code field.
Then click the Data Sample tab.

The sensitivity label feature allows you apply a sensitivity label to imported objects.
Tables in a database or fields in a file generally have a great deal of related information in tabs. For example, we have:
- Fields contained within this table
- Sample Data
- Relationships including PK/FK, inferred and user-defined relationships with other tables. Especially important when joining this table with others, such as in a self-service BI tool.
Glossary terms are custom model objects to manage terminology for an enterprise. The terms oftentimes have very rich documentation, and include HTML text (rich text) fields. You may use the HTML Text Editor to create and edit these rich text documentation fields.
Steps
- Sign in as a user with at least the Metadata Editingcapability object role assignment on the object with an HTML attribute to edit.
- Go to the object page for the object.
- Click on the pencil icon in the upper right hand corner of the HTML attribute value to open the HTML text editor.
Example
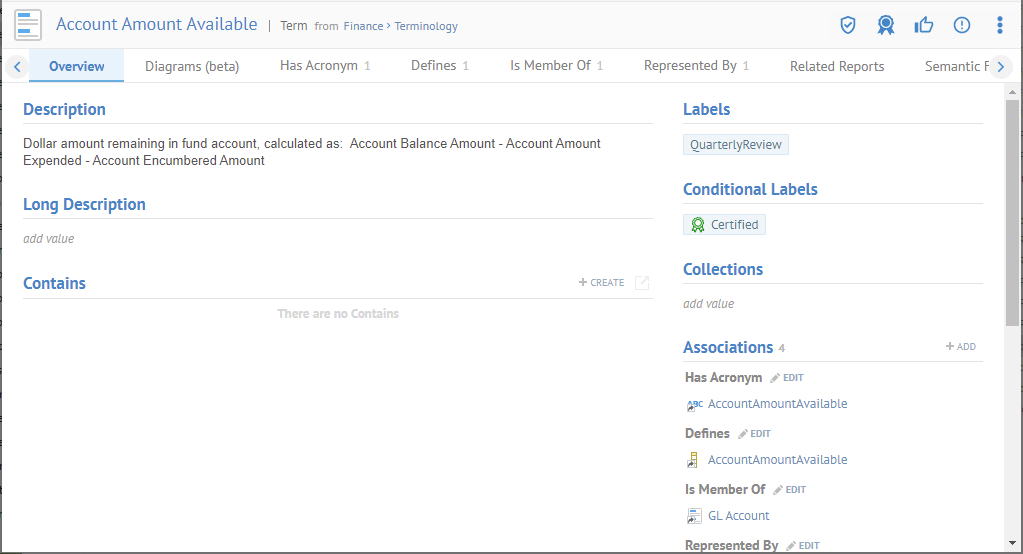
Sign in as Administrator, search for “SSN” and open the object page for the US Social Security number term.

Click v MORE to expand the Description.

The term US Social Security Number has a good example of the use of an HTML text field, in this case Description. In fact, this was simply copied from the WIKI page (copy-paste).
Click the pencil icon in the upper right corner of the Description and you can use the HTML text editor.

From here, you may edit this HTML (rich text) field with the HTML Text Editor.
Conditional Label
This feature allows you to define conditional labels based on a Metadata Query Language (MQL) based query such as "Highly Commented" based on objects with over 10 comments.
Each conditional label has a name, description, query and icon that can be searched from a bundled library of icons, customized (e.g. change color), uploaded (from external sources), or even designed in the UI (start from a shape, color, etc.).
They are presented on the object page when defined for a particular object.
Model
There are several features available only at the model level:
- Model Usage – will show by default the models that are used by the current model and the models where the current model is being used. This fuctionality is similar to the Usage tab. These models will only be visible if they belong to the current configuration). This widget only applies to the root of a model (not on sub models of a Multimodel).
- Search in Model – Opens a search worksheet with a filter to this model already specified. This widget applies to models and submodels (e.g., schemas in a database).
- Open Business Glossary – Shows all terms which have definitions for features (e.g., columns, fields, attributes) in the model. This widget only applies to the root of a model (not on sub models of a Multimodel).
Example
Navigate to the object page for the Staging DW model.

We see Model Usage, where some objects in this model Use one or more business rules and also some objects in this model are Used By several data mappings, again business rules and also a semantic mapping.
Click the More actions menu.
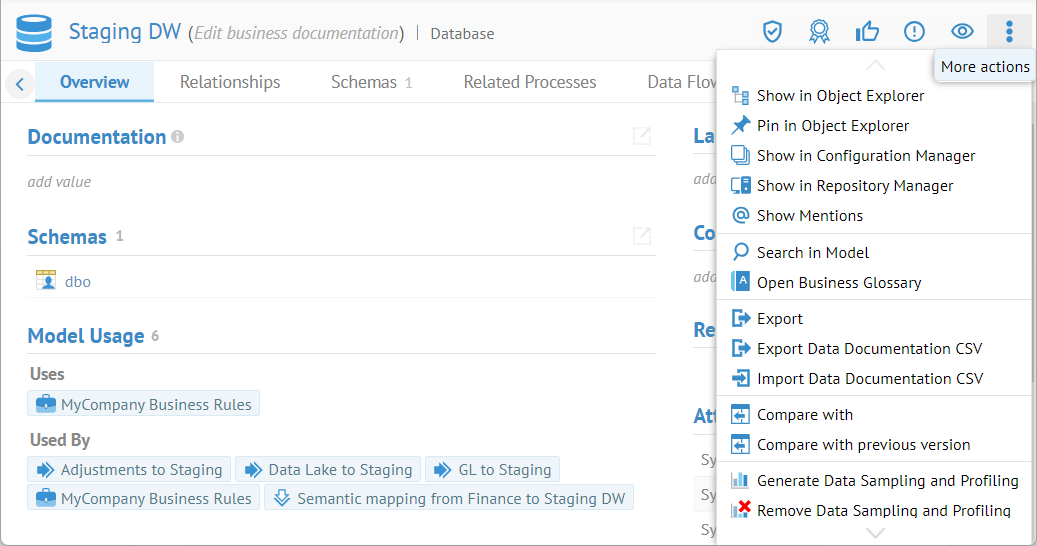
The Search in Model and Open Business Glossary are available as this is the root of the model.
Sensitivity Label
This feature allows you define sensitivity labels as an ordered flat list such as: Unclassified > Confidential > Secret > Top Secret. Each sensitivity label has a description, a hide data property (only used when applied to a column/field), and a color (for example confidential can be orange and top secret red).
Sensitivity labels can be manually applied by authorized users (with the Data Classification Editingcapability object role assignment) to any individual object.
there is no inheritance such that setting a schema secret does not make each of its tables and respective columns secret.
However, there are inferred sensitivity labels so that when you apply a sensitivity label to an imported object, e.g. a column, then all the imported objects “downstream” in the data flow lineage will be given at least that level of sensitivity.
Sensitivity labels can also be updated in bulk (e.g. multiple columns at the same time).
Sensitivity labels can be automatically set through automatic data classification detection. For example, a data class SSN can be associated to a sensitivity label called Confidential or GDPR. In such case, any table columns or file fields detected as SSN will also automatically be set with that Confidential or GDPR sensitivity label.
The approval process of data classes also applies to sensitivity labels. In addition, approving a data class detection on a given object also approves its associated sensitivity label.
A sensitivity label may also be assigned to all new imported objects (data elements) on import (harvesting) a model. In addition, on subsequent imports, new data elements will be given the defined sensitivity label, but existing ones will not be changed. This way, one may assign a sensitivity label and even hide the data automatically for every data element in a model on the first harvest and approve or change that assignment, while on subsequent harvests only newly imported data elements will be assigned the automatic sensitivity label.
Sensitivity labels are highly visible in the UI, and can be used in worksheets (queried through Metadata Query Language (MQL) in the UI or the REST API). Applications can be built to query these sensitivity labels in order to automatically generate / enforce data security on the data stores (e.g. databases or file systems with Rangers). Note that sensitivity labels do not directly set or bypass the role based security of the repository, or automatically hide data from the repository (these actions can be set separately).
Manually Set the Sensitivity Label
The sensitivity label feature allows you apply a sensitivity label to any imported object. Sensitivity applies to the data sampling and profiling information, not the metadata. Each sensitivity label has a description, a hide data property (only used when applied to a column/field), and a color (for example confidential can be orange and top secret red). For columns/fields it may allow you to ensure that data sampling and profiling are hidden if a sufficient level (as defined) of sensitivity is defined for the sensitivity label assigned.
Sensitivity labels can be manually applied by authorized users (with the Data Classification Editingcapability object role assignment) to any individual object from an entire model, a report, a schema, table, all the way down to a column.
There is no inheritance such that setting a schema as Confidential (and thus hidden) does not make each of its tables and respective columns secret. Sensitivity labels can also be set in bulk (e.g. multiple columns at the same time).
There are however, inferred sensitivity labels so that when you apply a sensitivity label to an imported object, e.g. a column, then all the imported objects “downstream” in the data flow lineage will be given at least that level of sensitivity as "Sensitivity Label Lineage Proposed". This means you will see automatic sensitive label tagging by inference across the enterprise architecture. As with "Sensitivity Label Data Proposed", the "Sensitivity Label Lineage Proposed" can be rejected, therefore stopping the propagation of inferred sensitivity labels in that data flow direction. Note that the propagation of inferred sensitivity level is also not inferred by any data masking discovered within the ETL/DI/Scrip imports involved in that data flow.
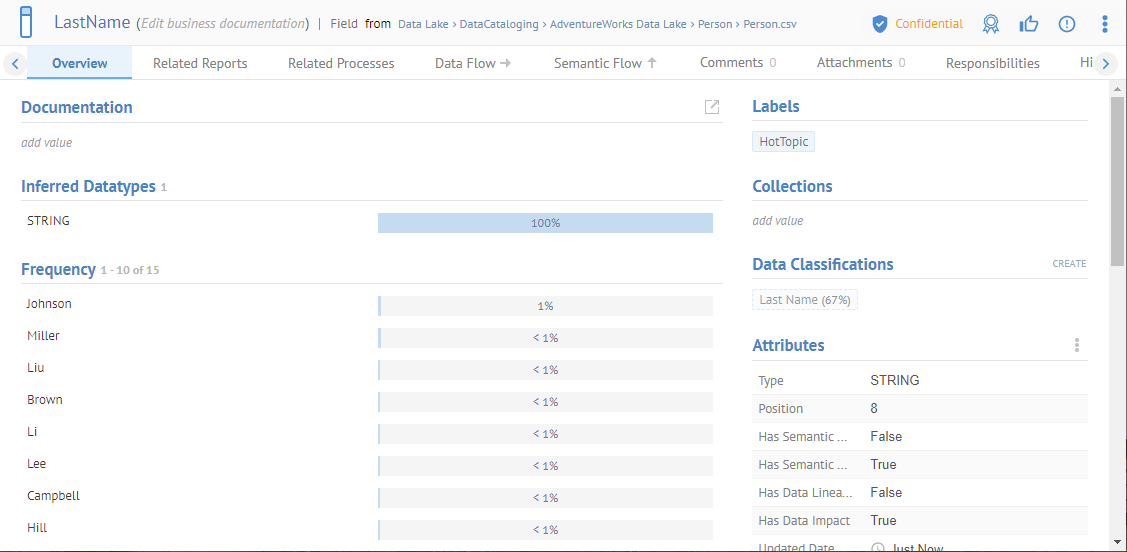
Navigate to the LastName field in the Person.csv file.
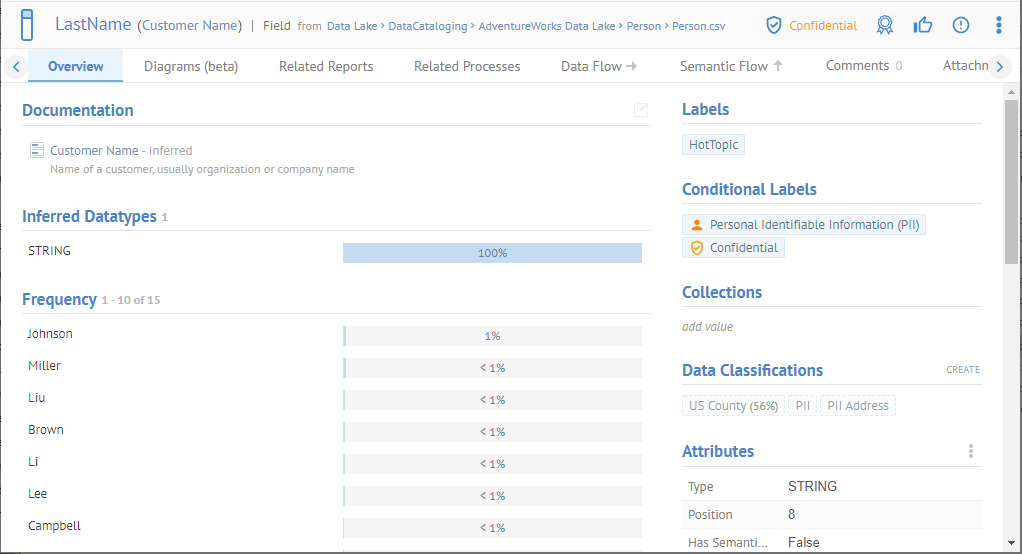
If there is no current sensitivity label assigned, then an Add Sensitivity Label icon is displayed.
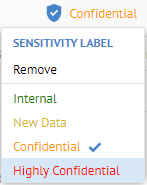
Select Confidential as the Sensitivity Label.

Click Person.csv in the breadcrumb area to the right of the name of the field:
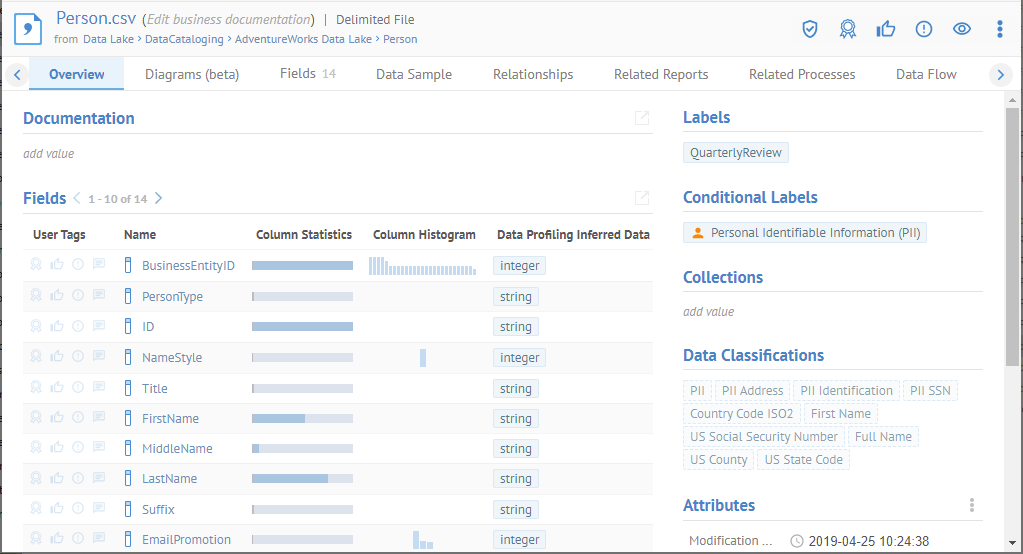
This is the file containing the LastName field.
Then click the Data Sample tab.

Here you may assign the sensitivity label in a grid. You may do so in bulk in a worksheet with the Sensitivity Label columns.
Sign in as Dan (the Data Analyst) and go to the Currency Code field in the CountryRegionCurrency.csv file again.
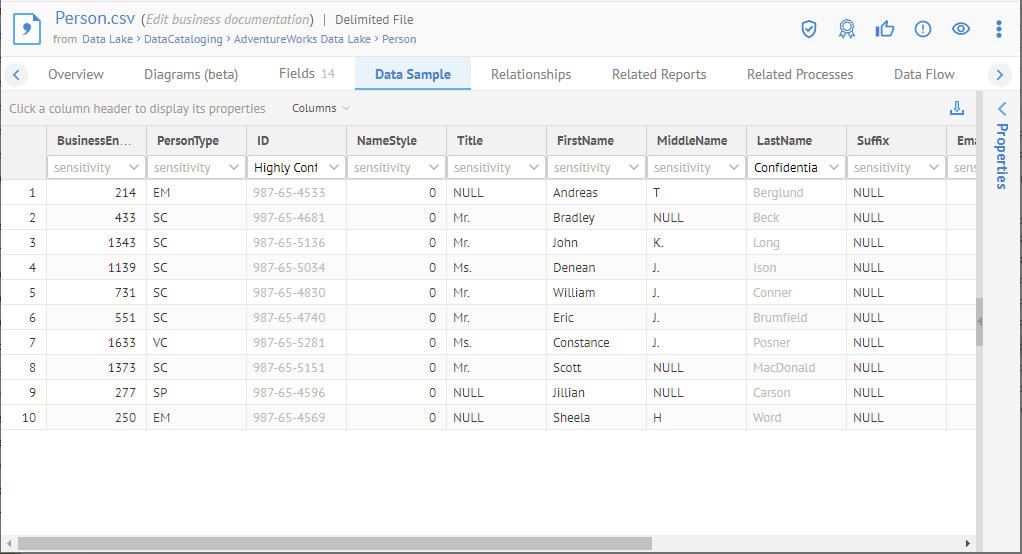
Dan cannot see data profiling and sampling information for fields which are labeled as Confidential as this sensitivity label includes data hiding.
Review and Approve Sensitivity Label Assignments
Obviously, you may review the sensitivity label on a given object by going to the object page for the given object.
Navigate to the LastName field in the Person.csv file.
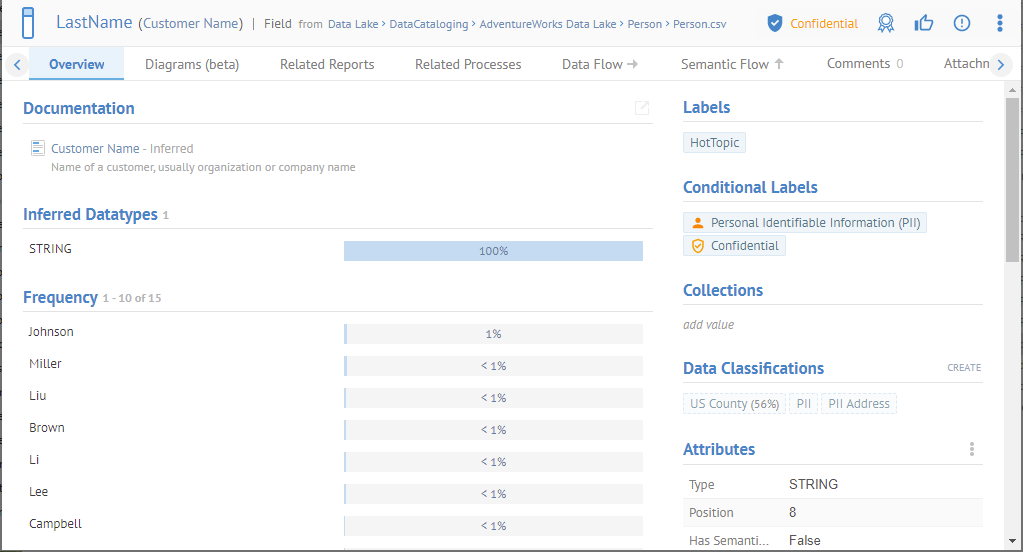
The sensitivity label icon is filled in  , thus this sensitivity label (Confidential) has been manually assigned and/or approved.
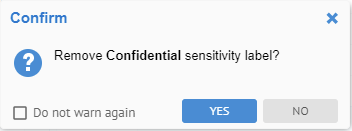
Select as the Sensitivity Label and you have the option to Remove it or assign another label.

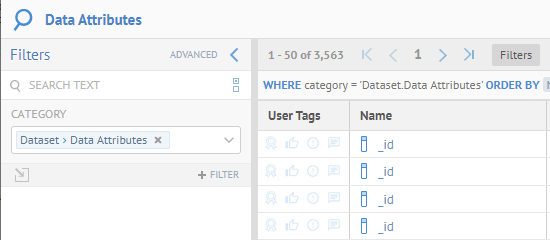
You may also review the sensitivity labels in bulk.
Create a worksheet for all Dataset > Data Attributes.
Add the followingsensitivity label columns:
- Sensitivity Label
- Sensitivity Label Approved
- Sensitivity Label Lineage Proposed
- Sensitivity Label Data Proposed
- Sensitivity Label Rejected

Then filter bySensitivity Label with the criteria Exists.

LastName is in the Approved column because it was assigned manually.
We saw earlier how to update that assignement.
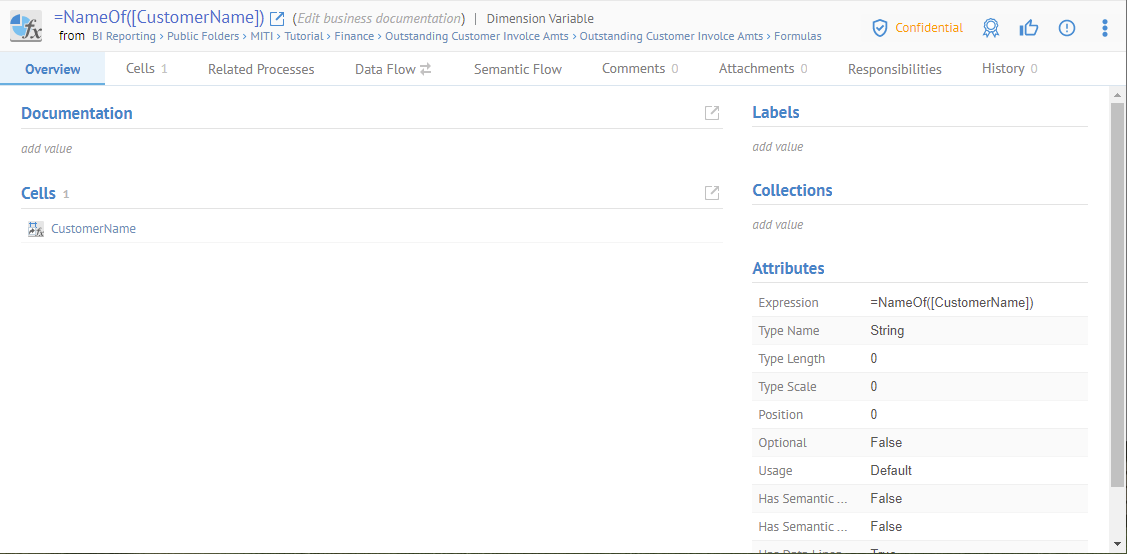
CustomerName is in the Lineage Proposed column because it was inferred via lineage analysis.
Go to the object page for CustomerName by clicking on it.
The sensitivity label icon is NOT filled in  , thus this sensitivity label (Confidential) has NOT been manually assigned and/or approved.
The UI also informs us that this particular assignment was made due to lineage analysis as the object downstream from this one was assigned manually.
We may simply approve this one here by simply clicking on the previous selection.
And now it is approved.

Going back to the worksheet.

We see that the Sensitivity Label of CustomerName is now in the Approved column also.
ID is in the Data Proposed column because it was determined directly from data classification.
If we are a reviewer and we know that ID is not sensitive in this case, we can simply Reject that assignment.
We can even do so right in the worksheet.
Sensitivity Labels Determined From Data Classification
Sensitivity labels can automatically be set as Sensitivity Label Data Proposed through the automatic data classification detection process (see data classification).
For example, a data class SSN can be associated to a sensitivity label Confidential or GDPR. In such case, any table columns or file fields detected as SSN will also automatically be set with that Confidential or GDPR sensitivity label. These may later be reviewed and approved.
The approval process of data classes also applies to sensitivity labels. In addition to approving a data class detection on a given object also approves its associated sensitivity label. See help.
Inferred Sensitivity Labels
When you assign a sensitivity label to an imported object, there are inferred sensitivity labels so that when you apply a sensitivity label to an imported object, e.g. a column, then all the imported objects “downstream” in the data flow lineage will be given at least that level of sensitivity as "Sensitivity Label Lineage Proposed". This means you will see automatic sensitive label tagging by inference across the enterprise architecture. As with "Sensitivity Label Data Proposed", the "Sensitivity Label Lineage Proposed" can be rejected, therefore stopping the propagation of inferred sensitivity labels in that data flow direction. Note that the propagation of inferred sensitivity level is also not inferred by any data masking discovered within the ETL/DI/Scrip imports involved in that data flow.
Navigate to the LastName field in the Person.csv file.
Go to the Data Flow tab and expand to the column level.

Double click the first column in the data flow after LastName, which is Customer.CustomerName.

The column downstream has inferred the Confidential label.
Go to the very last field in a report in the data flow impact report, which is CustomerName in Block 1 of the Page Body of the Outstanding Customer Invoices worksheet.

It is also Confidential.
Object Image
Some objects may have images imported from the tool. The typical use case is the import of a thumbnail preview image of the actual reports in a Business Intelligence (BI). Often, these report images are very low resolution to avoid revealing any details or data. This is the case of a Tableau worksheet where preview images generated by the tool and imported along with the model are visible as an Object Image on the top tight of the Overview tab of the object page, as can be seen below:
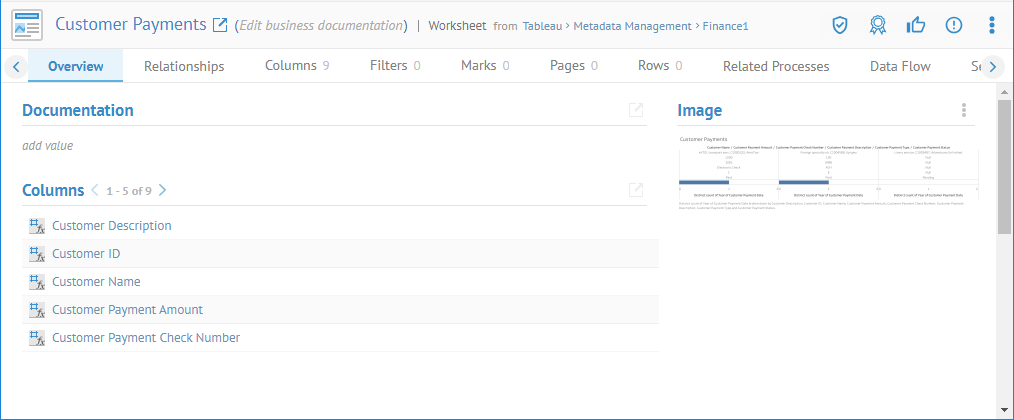
The Object Image will appear on the object page of the report and also in any worksheet as long as you add the Object Image column.
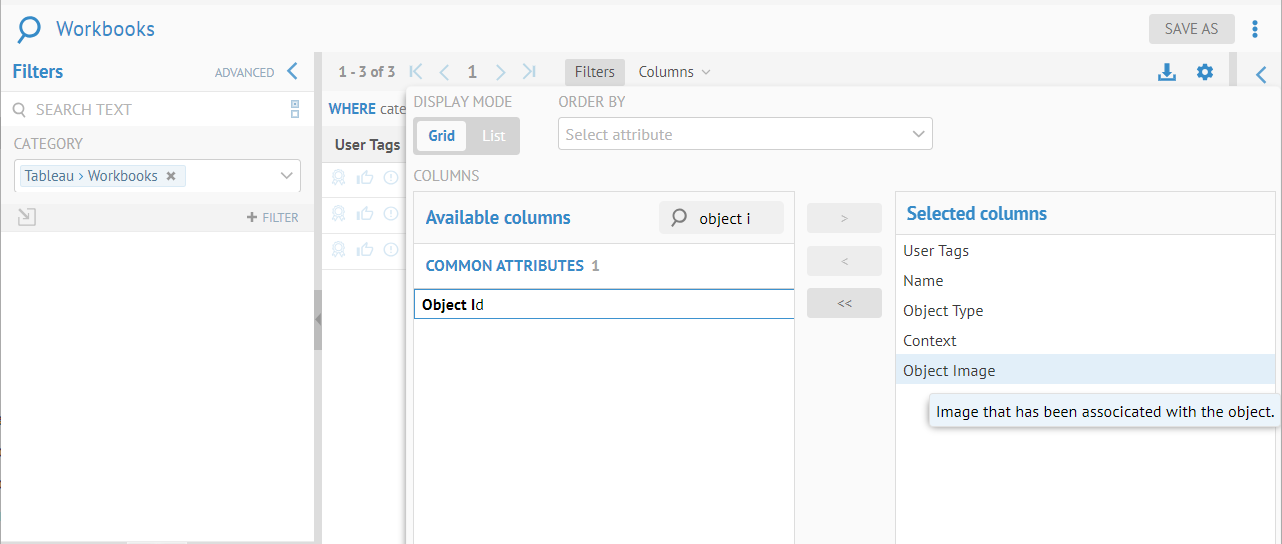
Steps
- Follow the steps when importing the model Be sure to specify the “-previewImage” option in the Miscellaneous bridge parameter. Note that this option is available only on some import bridges.
Object Open In Tool
Some objects may be opened on from the original tool. The typical use case is for Business Intelligence (BI) tools on where a report object can be opened in the original tool. This is the case of a Tableau Worksheet where users can Open In Tool at various locations such as:

- On any Tableau report Object Home Page (on the top left just after its name) as follows:

- On any Tableau report Object Home Page (in the More Actions menu) as follows:

- On any Object Home Page’s Related Report tab as follows:

In all cases the Tableau Workbook is then opened in the Tableau Server (not that you still need to have credential on the Tableau server to see that report)

Steps
Be sure to specify to configure the Open In Tool tab when importing the model. Note that such option is available only on some import bridges like Tableau
Business Metamodel Object Page
Go to OBJECTS > Explore and navigate to MyCompany Policy > Data Quality.
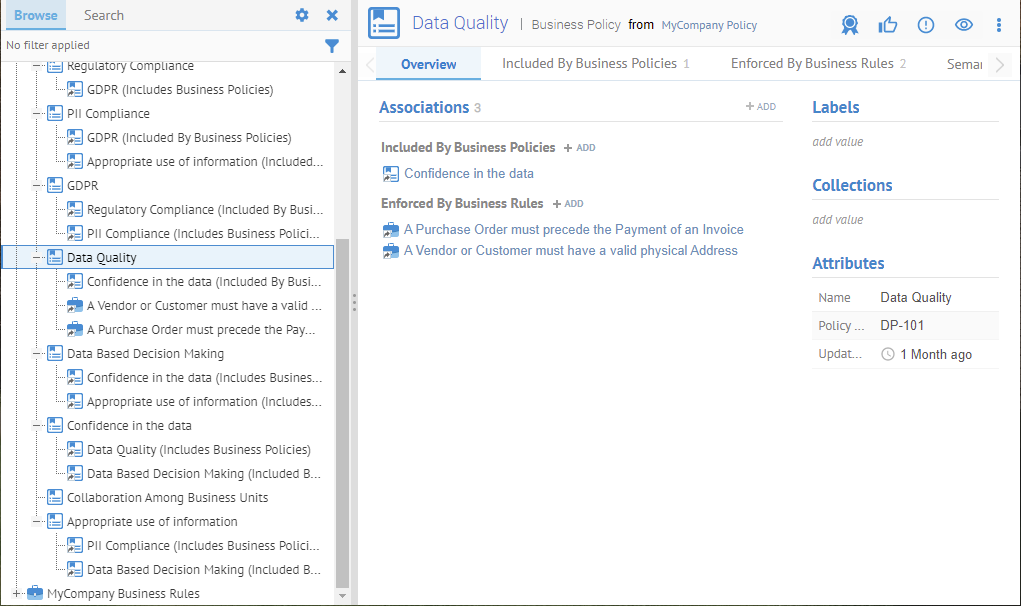
This is a custom model of business policies and related business rules. There are numerous additional tabs based upon populated associations among the classes in the model.
Explore Further
Model Level Object Page
In this example, we will look at a multi-model and sub-models contained within that multi-model in order to see options available on the object page only at this “model” level.
Model level then refers to:
- Models (imported or custom)
- Multi-models (imported) which will have a directory structure with contained models which also qualify as “model level” for this discussion.
Go to OBJECTS > Explore and navigate to Accounting > Accounting.

Watchers
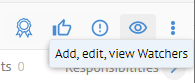
A Watchers icon is presented in the upper right.
Talend Data Catalog provides watcher capabilities for model level objects allowing a user (or group of users) to effectively subscribe to objects and be notified of changes and there is an adjustable frequency of notification from near real-time to daily.
Click on the Watchers icon

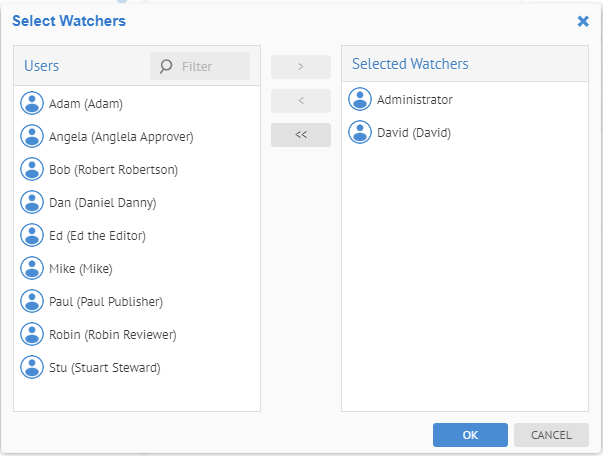
Click EDIT WATCHERS.and select the user Administrator and group DG Managers

Select START WATCHING.

The current user (Administrator) is now a watcher as well as the users in the DG Manager group.
As long as:
-Watchers are enabled for notification
-You have the Watcher Editingcapability object role assignment
-You have a valid e-mail address assigned and a valid NOTIFICATION FREQUENCY
You may assign yourself as a watcher and receive notifications emails.
Click on the Watchers icon

Select EDIT WATCHERS.

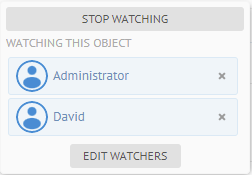
David is now a watcher also.
As long as:
-Watchers are enabled for notification
-You have the Watcher Managementcapability object role assignment
-The users you assign have a valid e-mail address assigned and a valid NOTIFICATION FREQUENCY
You may assign others (including yourself) as a watcher and receive notifications emails.
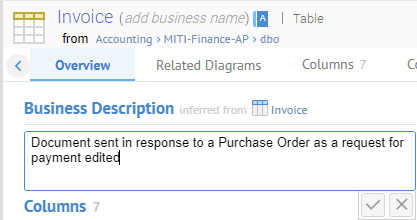
Now, edit the business description in the Accounting.MITI-Finance-AP.dbo.Invoice table
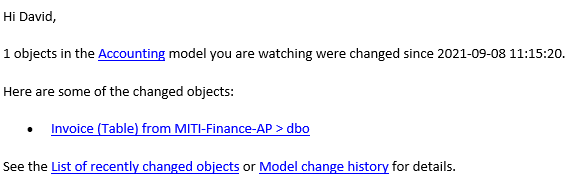
And you receive an email at the address defined for David and Adminstrator.
The link to the object page of the Accounting model also allow you to remove yourself as a watcher (unsubscribe).
Now, re-import the Accounting model and you also receive a message.
In earlier versions of the production, stewards were the ones notified of changes to model. This is no longer the case. Instead, watchers are notified of changes to models when enabled. The migration from stewards to watchers is performed automatically on upgrade from previous versions and thus all stewards become watchers.
Lazy Loading of the Object Page
The user interface tries to show pages as soon as possible. When a object page needs a piece of information that potentially takes a long time to look up (e.g., lineage traces to determine inferred documentation), the user interface will load that slower to obtain information asynchronously without blocking the initial object page display. This way, the controls on the page are fully functional, even while the lazy loading animation is showing for the widget that represents the information.
Lazy loading of the Documentation section of the Overview tab.
Object Page with Debug Logging
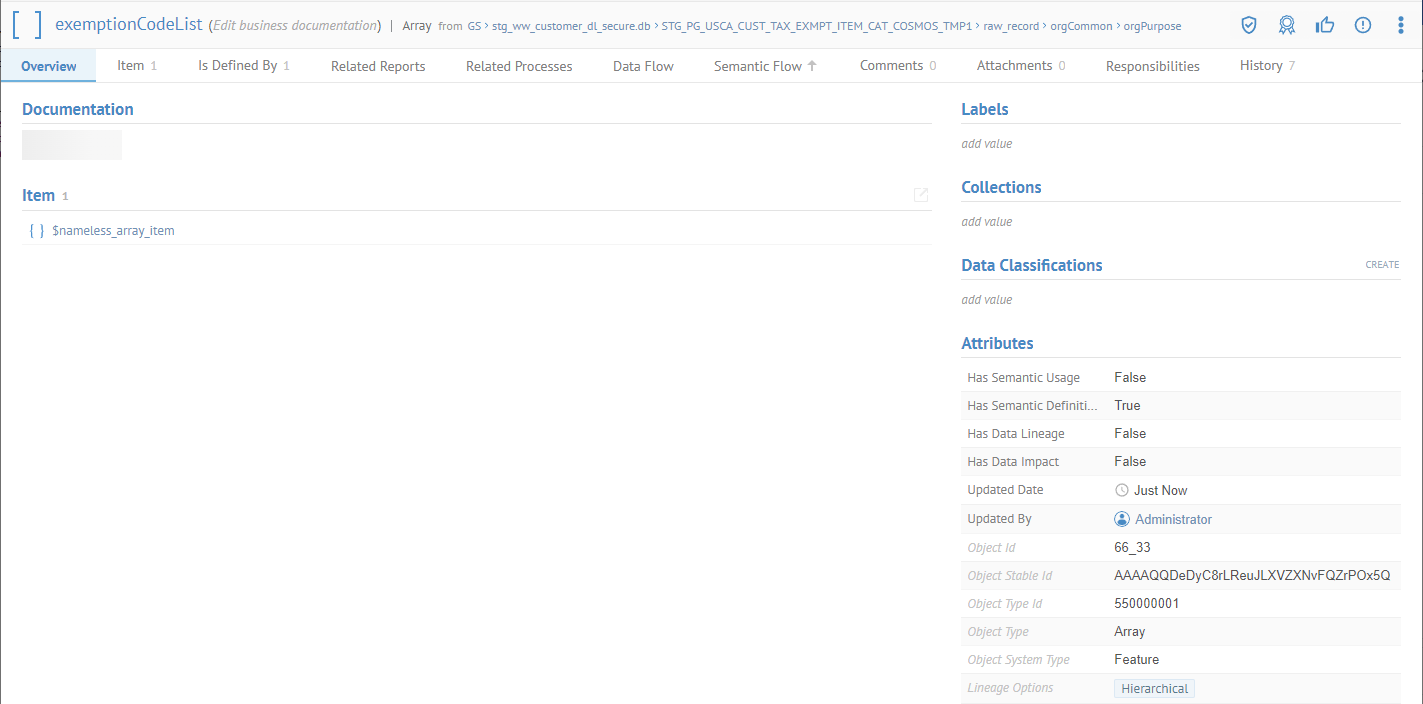
Setting debug level logging also affects the attributes shown on the object page and also the Properties panel, showing additional information like Object Id and Stable ID. Other internal information like Lineage Options which are only for internal debugging purposes also will appear:
- to assist the stitcher to locate an appropriate matching object across the models
- it is shown on the UI in the debug mode for the troubleshooting purposes only alongside “object id” or “object type id” and is not shown otherwise.
- it is not intended to be interpreted by the users directly
Thus, debug logging should be disabled unless absolutely required.
Did this page help you?
If you find any issues with this page or its content – a typo, a missing step, or a technical error – let us know how we can improve!